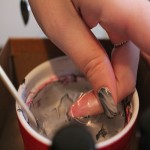
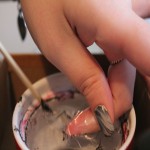
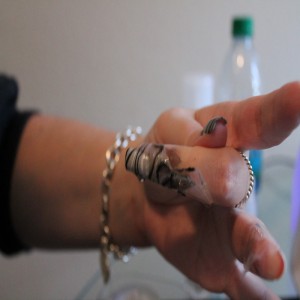
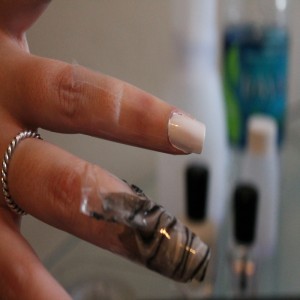
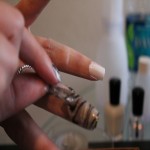
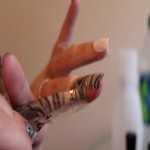
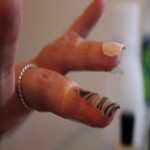
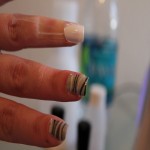
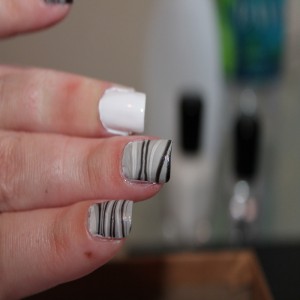
Nick and I did this tutorial in 2 parts. On my middle finger we did a step by step of the process through photos with explanations. On my ring finger we used video setting on Nick’s camera to show the actual water marble process. Because we didn’t use an actual video camera, the video can be blurry in some shots and for that we apologize… but we did the best we could!
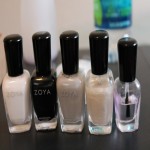
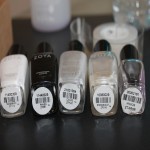
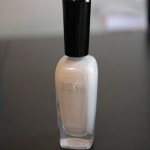
First, choose your colors. You will need a Base Color (I used Zoya’s SnowWhite), 3 Marbling Colors (I used Zoya’s Raven, Dove and Snowsicle) and then a Top Coat (I used Zoya’s Armor). Make sure the colors you choose aren’t too thick or they may not spread as you need them to.
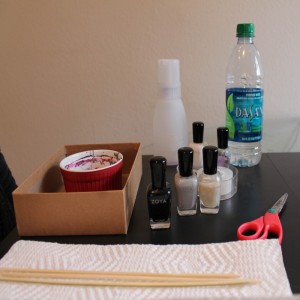
Next, get everything you need and keep it within reach for the process. You will need:
Filtered or Purified Room Temp Water
Small cup
Nail Polish Remover
Marbling Tool (I use wood skewers)
Scotch Tape
Paper Towels
Precision Tip Qtips (the pointy ones)
Nail Polish Colors of your choice
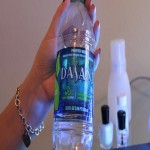
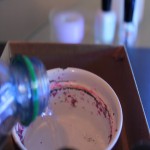
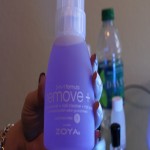
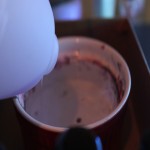
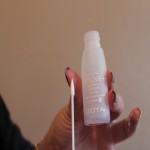
The biggest thing in this process is the water you use. It HAS to be room temperature. The temp of the water will make or break this process. You should also use filtered or purified water rather than tap water. I used Dasani bottled water. Once I add the water to my cup, I pour a very little bit of Zoya’s Remove + in with the water. I have tried this without remover, but found it more difficult. Any remover should work (I’ve heard cuticle oil works well too, but never tried that)
I have a dedicated “water marbling” ceramic cup (mom if you are watching this, those dipping cups you got us for Christmas last year are being used a lot!). If you use a ceramic cup, make sure its one you don’t ever plan on using for anything else because this will ruin it.
To start the process I put 2 coats of Zoya’s SnowWhite on my nails.
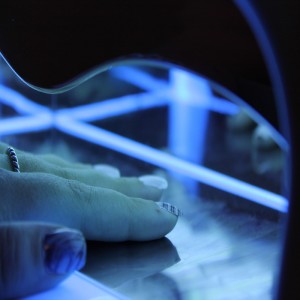
I used my UV nail dryer in between coats to speed this portion up.
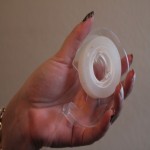
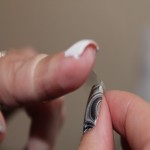
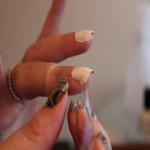
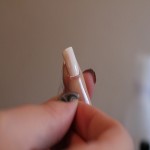
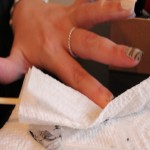
Once 2 coats were dry I started taping my nails. I use 1 piece across the bottom of my nail that wraps around to the back, and then another piece that I place along the right side of my nail, wrap it around the back of my nail and down the left side. This is to prevent extra cleanup after. I’ve heard that rubbing cuticle oil on your skin also works in place of taping, but again, I haven’t tried it before. Also, it is easier to tape all of your nails at the same time, otherwise you risk tape sticking to a nail that’s already done and will ruin it.
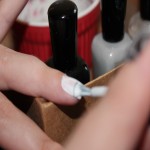
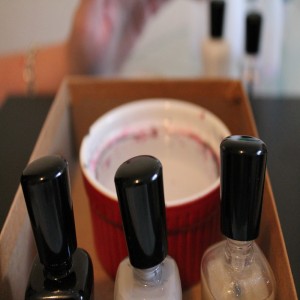
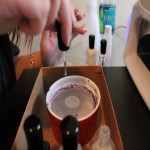
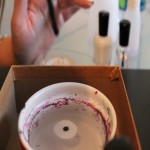
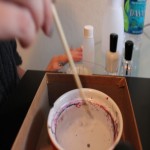
Once that is done you can start the water marbling process. To make it easier, I place the small cup and 3 polishes in a small box lid just in case the polish drips before it gets to the water. You can also lay out newspaper or another disposable surface. I unscrew all 3 nailpolish tops to make them easier to grab and go.
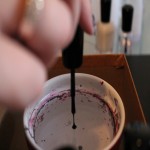
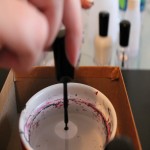
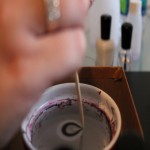
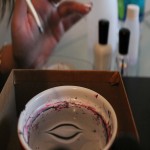
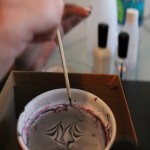
This process is all about rhythm. You need to be fairly quick so that layers don’t start to dry too quickly and a pattern can still be done once you get all the desired “rings” in. I would recommend at least 7 or 8 rings of color to get a decent pattern at the end. I did 9.
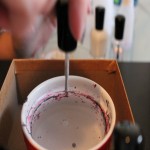
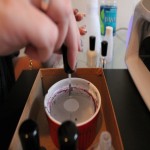
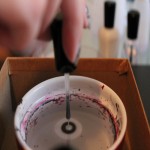
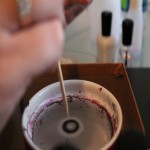
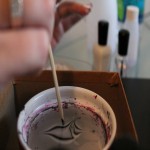
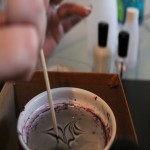
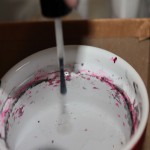
Once you get the desired amount of rings in grab your marbling tool (I use a wooden skewer) and make your design. I started from the center ring and pulled to the top of the cup, lifted the skewer and placed it back in the middle and pulled it down towards me. Then in small sweeping motions I started at the top of the cup and dragged the skewer in a right to left “smiley” action, lifted the skewer and made the same motion but went left to right instead. I continued to repeat this motion until I got towards the bottom of the cup.
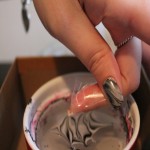
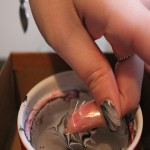
Next I look at the pattern and decide where I want to place my nail. I want to make sure I’m not placing it over a small bubble or a blob of color. I curl my finger under a bit to face my nail down and place it in the water.
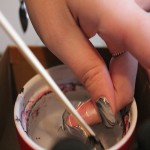
Try not to move too much and quickly grab the skewer and swirl it around the water to pick up excess polish. If you don’t do this you risk lifting your finger and picking up the whole cup of polish and having it glop onto your nail in a giant polish ball.
After you’ve picked up a majority of the extra polish, slowly lift your nail out of the water.
Take a moment to look at the design and make sure you are satisfied with it. If you are not satisfied, sadly you will need to start that nail over.
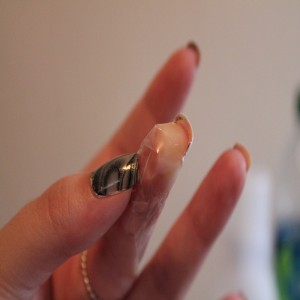
Slowly start to remove the tape. I keep a pair of my son’s kiddie scissors handy during this just in case the tape doesn’t feel like removing, I just cut through the back of the tape and take it off that way.
If you are happy with it, you can start the clean up process. I prefer to use pointed QTips dipped in remover because they are easier for me, but a clean up pen such as Sally Hansen’s No More Mistakes also works fine.
Once this dries ( and it usually dries quicker than a coat of nail polish) add your top coat!
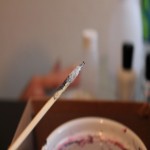
As a side note – in between nails (or possibly every other nail) you will need to “clean” the water. Simply put 2 drops of nail polish on the top of the water, wait a minute for the polish to harden and then swirl your skewer in the water, removing all the polish. This will help pick up any other gunkies or polish that was left behind from previous attempts. If you don’t do this, the polish won’t spread correctly or will add extra texture to your future attempts. Use the paper towel to wipe the skewer clean in between cleanings
I really hope this helps to those of you looking to do water marbling. If you have any additional questions, please don’t hesitate to ask!

11 comments
Great tutorial! I love this effect but find I don’t have the time to do it as much as I’d love to. It does take a little longer than painting your nails normally!
Yes it does! I have to sneak doing this when my son is at his fathers or already asleep!
Thank you!!
Great review! I tried this and it’s so time consuming. I might try another day because they look very pretty.
It is time consuming, my first attempt took over 2 hours to get each nail wearable – now I think I am down to 45 minutes altogether!
Thank you!
I have only kinda mastered this. Im still not great but love reading tutorials like this to pick up more tips to try along the way. I use cuticle oil instead of tape and it works a treat!
I’ve heard that Cuticle Oil, Vaseline and Elmers Glue work. A lovely follower told me she spreads elmers craft clue on around her nails and lets it dry, marbles and then just peels the glue off
How come you added some Remove+ into the water? I’ve never heard of that technique. What is it suppose to do?
Adding Remove + or any kind of nail polish remover helps some polishes to spread (if they are thicker). I had a couple like Zoya Kelly that wouldn’t work for me unless I used remover in the water to act as a slight thinning agent
Great tutorial! I tried this for the first time tonight on my grandma’s nails. :)
What colors did you use?? That’s awesome!
I had never heard of adding polish remover to the water! Thats a very interesting trick. Thanks so much for the tutorial! Water marbling is one thing I have been absolutely abysmal at so I think I’ll give it another go using your technique :)
<3 Fox
Comments are closed.