This post has been a long time coming, and I’ll be honest – I bought the Kiara Sky Gelly Tips (affiliate) kit for me, then decided I would blog it. Then I got a little self conscious for some reason because I know the finished look isn’t “top notch” – which may sound silly to some, but for me I was frustrated that it wasn’t perfect out of the gate. I have since gotten better, I am wearing my 4th set and the practice helps. Plus I get used to the process, which helps.
So here we go – in this post I’m going to cover my review of the Kiara Sky Gelly Tips (affiliate)! I am a complete noob when it comes to false nails of any kind. I did have acrylic nails on from the age of 16 until I was 29, however – I never had to apply them myself. Once I started blogging, I did away with the false nails and I’ve been a natural nail blogger for 9 years.
Back in July Nick and I moved to Massachusetts. The weather (especially Winter) is way different. I had to change up all of my routines – from skin care to hair care and … nail care and it has been a challenge. At 38, everything I knew that worked for me was no longer working. Our water had a water softener – so my old shampoo left my hair feeling like I washed it in butter (we had hard water in CA), my skin was dry and flaking off and scale like, my nails became hard and brittle.
I figured out the hair and skin, and I thought i had the nail situation handled, until Winter hit and mid December my nails took a turn. I started getting small breaks here and there, a split below the nail line I had to baby… but then I barely touched a cupboard handle at work and SNAP… there went most of my nail.
So that is kind of some backstory. We’re going to go back a little further, so just stick with me for a few.
For 9 years I have had natural nails. Then Laurie of Dressed Up Digits mentioned purchasing the Kiara Sky Gelly Tips and it piqued my interest. I was having minor nail annoyances and new nail toys… so I checked it out. I found them interesting and I liked the look – but they only came in long and medium, which aren’t my personal style – so I talked myself out of buying them. Then Krys of Vapid Lacquer mentioned not being able to get her nails done due to the pandemic – so I suggested these to her.
I am 100% one of those people that usually “get over” any whim I have by talking someone else into doing whatever it is. Krys wanted her nails done, these sounded up her alley – I suggested. Part of me was hoping she would love them, but tell me they are ridiculously difficult – and then I would be like “oh, I don’t have time for that” but she didn’t. So my urge to do these didn’t go away.
Flash forward to late December – Krys and Laurie are showing off their lovely nails and I’m still checking the site out and talking myself out of pulling the trigger. Then in January I spot “short” gelly tips.
You. Assholes.
That was my main reason to talk myself out of it – they didn’t have short versions. So I hop over to Amazon (faster shipping) and they have the Kiara Sky Gelly Tips Starter Kits (affiliate) in short version. 4 styles are available – Almond (I considered), Square (I liked but wasn’t sold on), Stiletto (not my thing, but I do love the look) and Coffin (the one I really wanted to try)
I finally did it. I bought the Kiara Sky Gelly Tips in Short Coffin (affiliate). You can get them on Amazon, but you can also get them on the Kiara Sky website which offers Afterpay. I do want to make it known I am not affiliated with Kiara Sky and have never received PR from them. So this has nothing to do with a brand push. These are just the options to buy (I am an Amazon affiliate though, so I’ve marked those as such.)
At the bottom of this post I will link all products used again, plus all videos I watched for tutorials. I highly recommend watching them on top of reading the instructions.
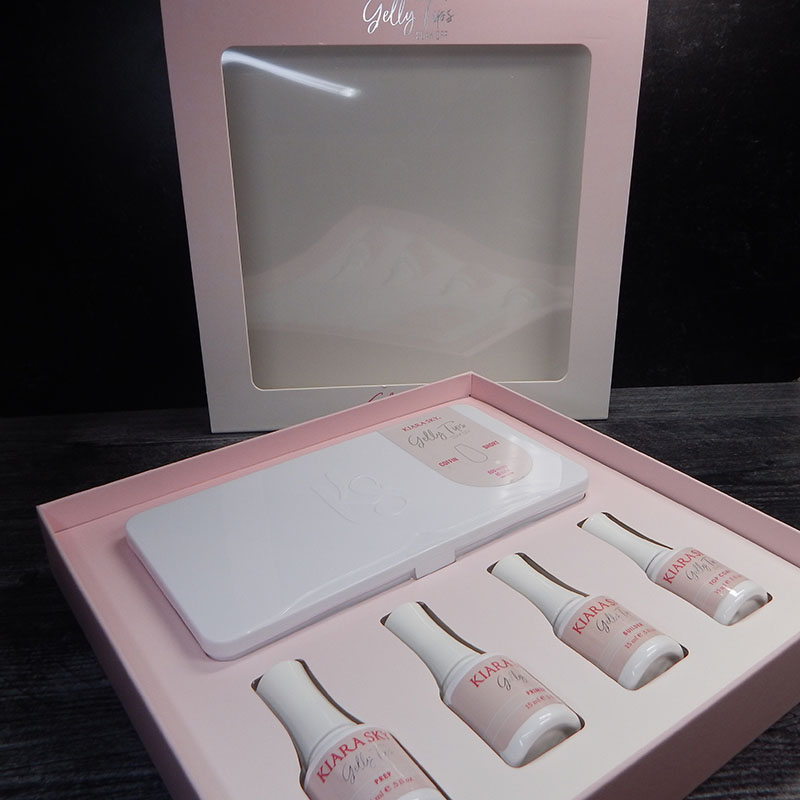
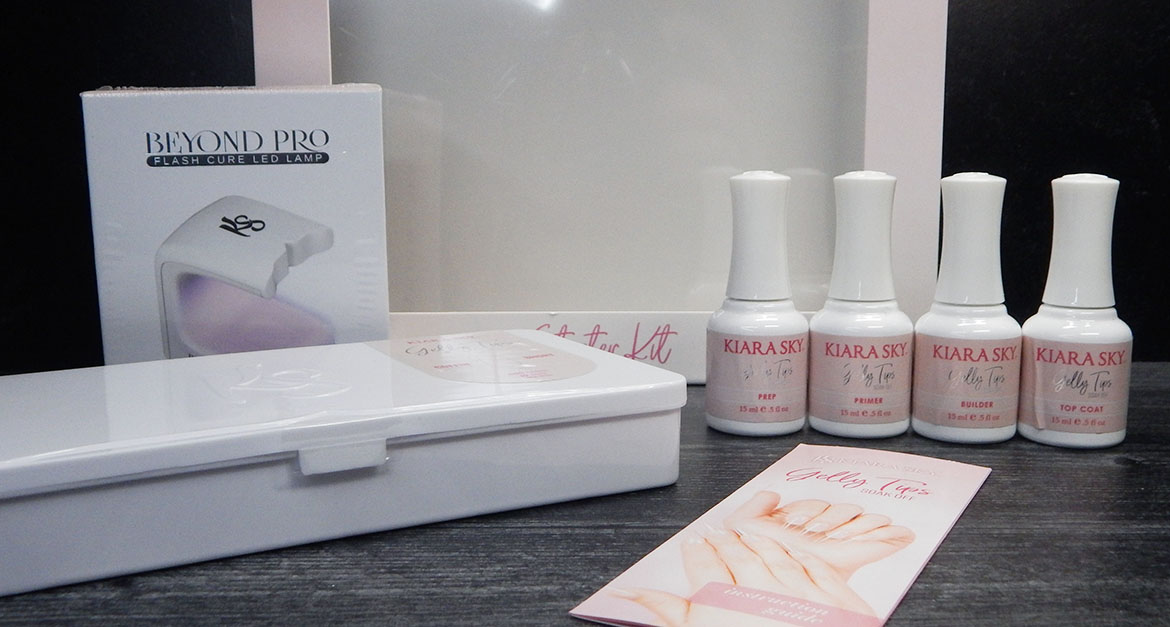
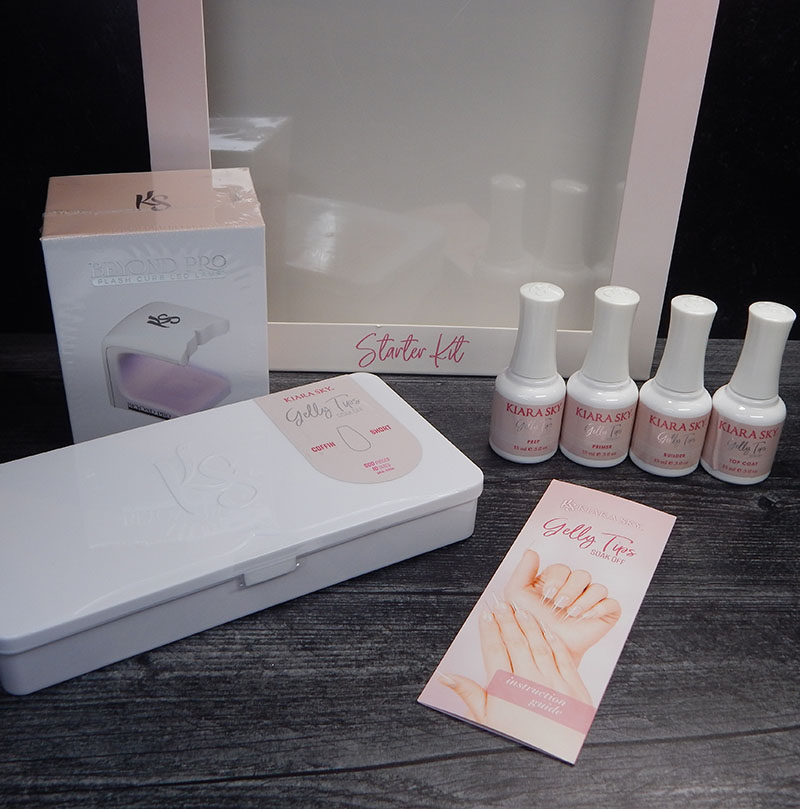
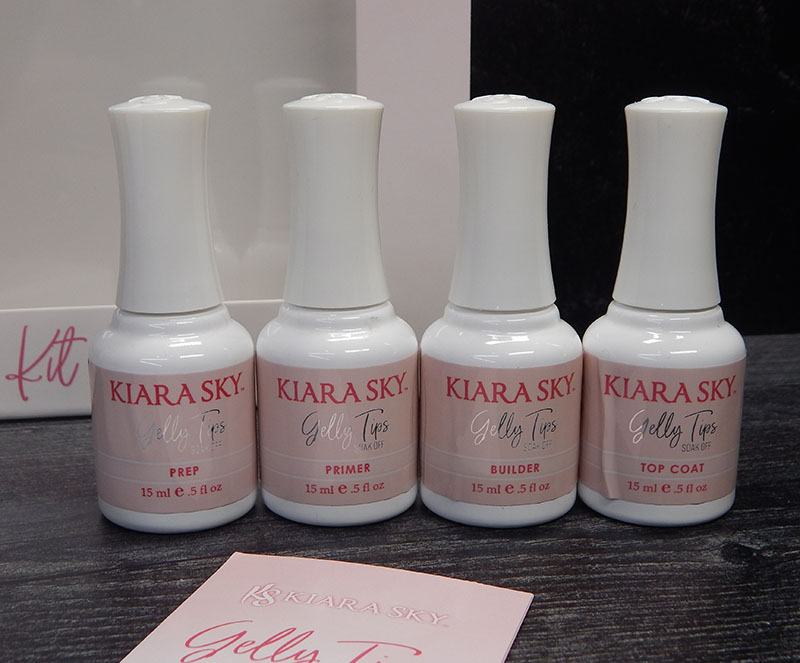
So in early January the kit arrives. It comes with mostly everything you need except files. The starter kit comes with 500 nail forms (in 10 different sizes), prep liquid, prime liquid, builder gel and top coat. Plus you do get the Kiara Sky Beyond Pro lamp. I paid $125 on Amazon for this set (it’s 110ish on the Kiara Sky website, but they were out of short coffin when I ordered plus Amazon’s shipping was a touch faster)
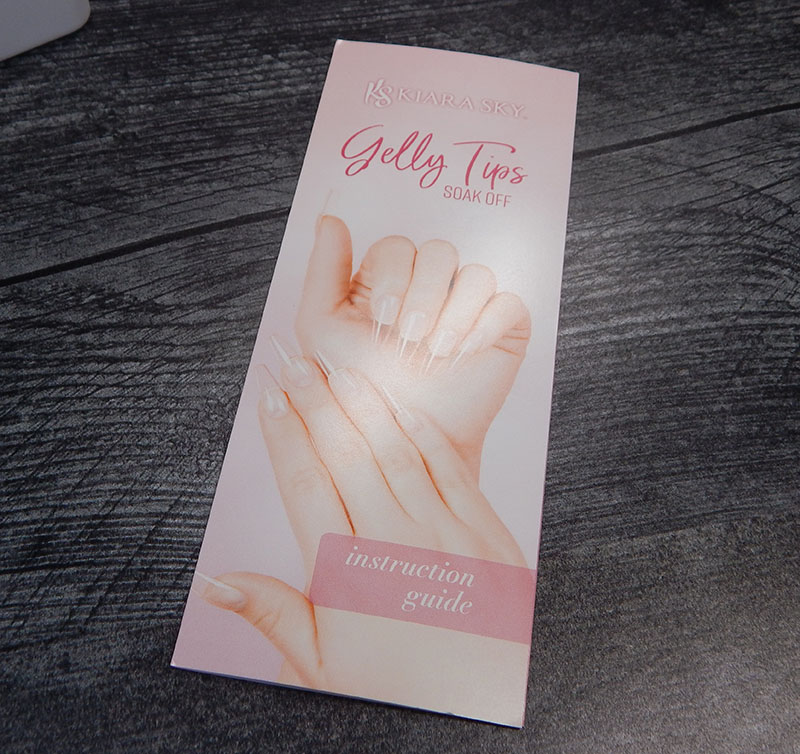
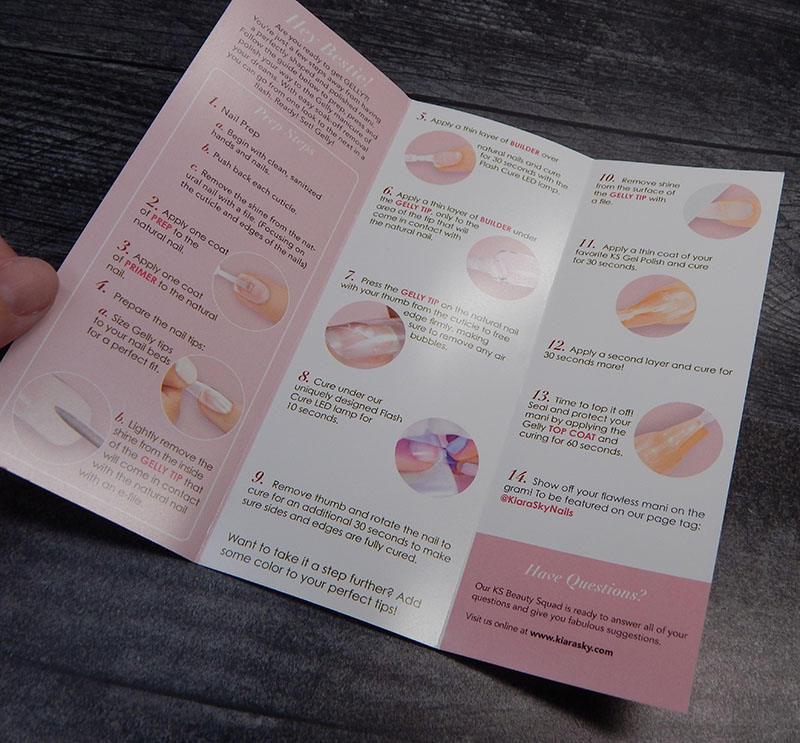
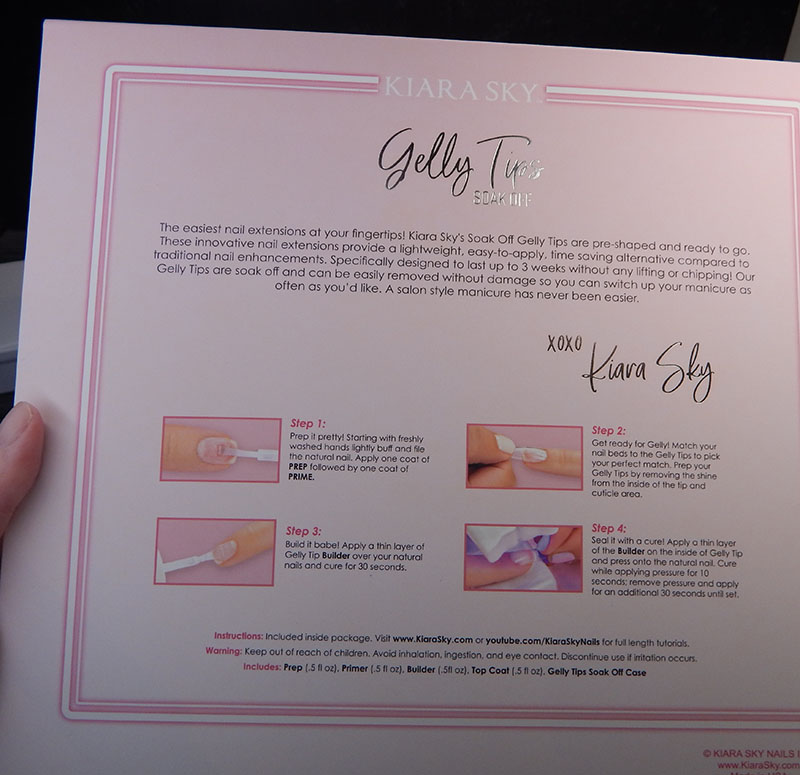
There was a quick set of instructions on the back of the box as well as an insert.
One thing I didn’t do was buy an E-File. I was able to get by without, however, I have since purchased one (MelodySusie one right here – affiliate link) and it has made a world of difference in application. But again, it isn’t completely necessary. There are cheaper options for one – this is just personally the one I went with and I have been happy with my purchase.
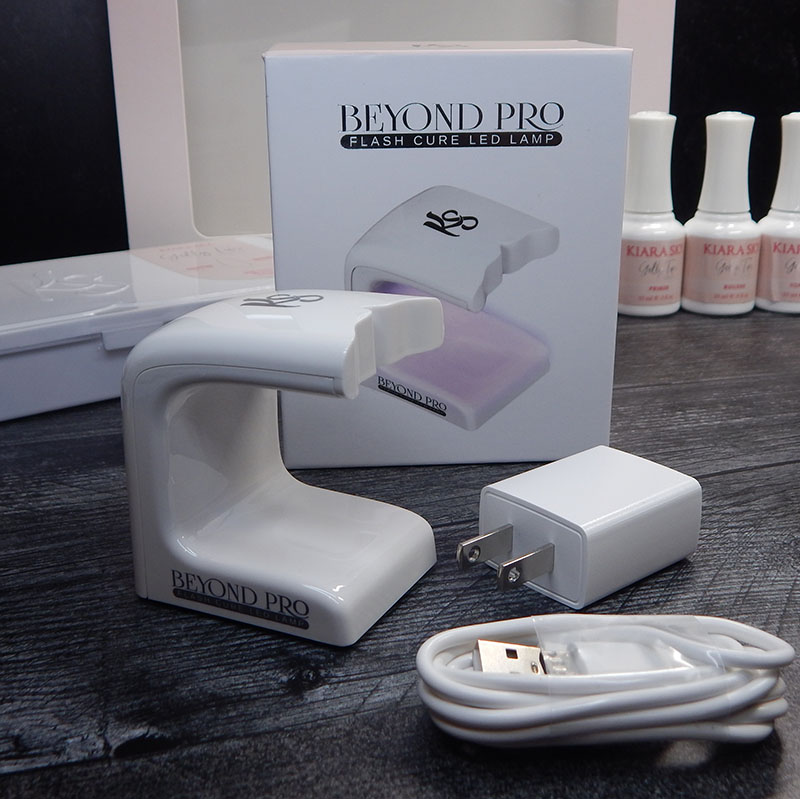

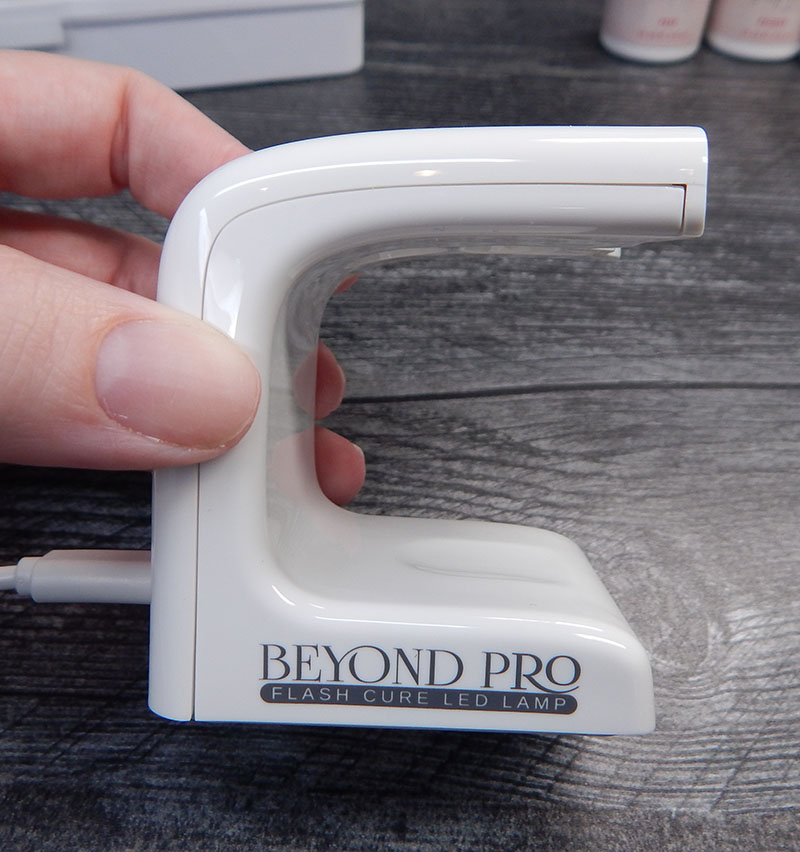
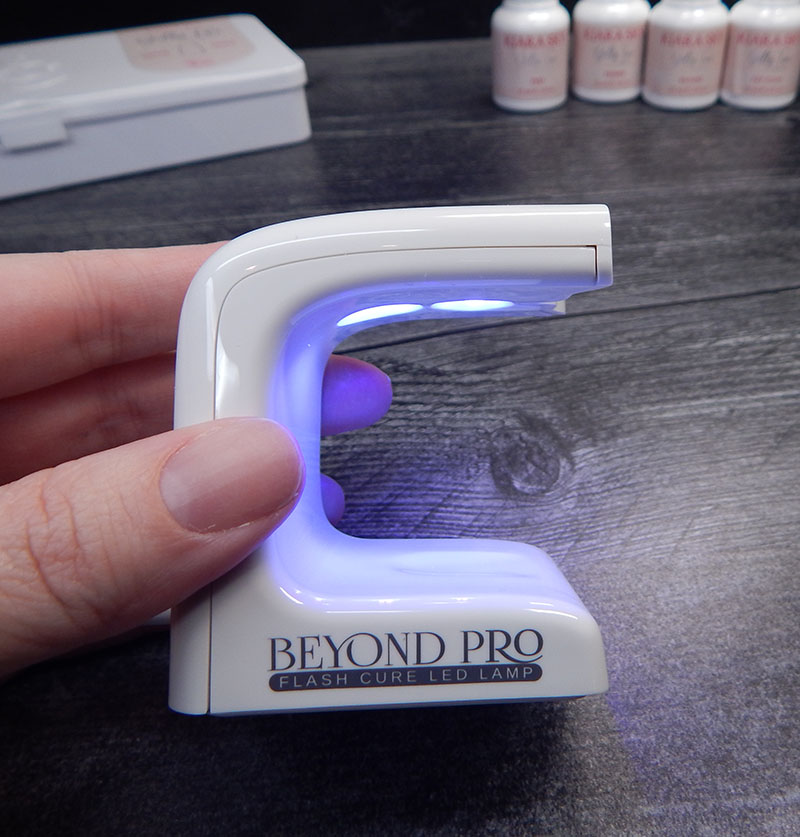
The full kit does come with this lamp. It’s small but mighty! It is open on 3 sides which makes application and curing for the gelly tips easy. For the first 20 seconds you need to hold the nail in place, so getting both under there in a closed off lamp is a pain. One thing I did learn, press the button on the back to turn the lamp on before the builder gel stuff.
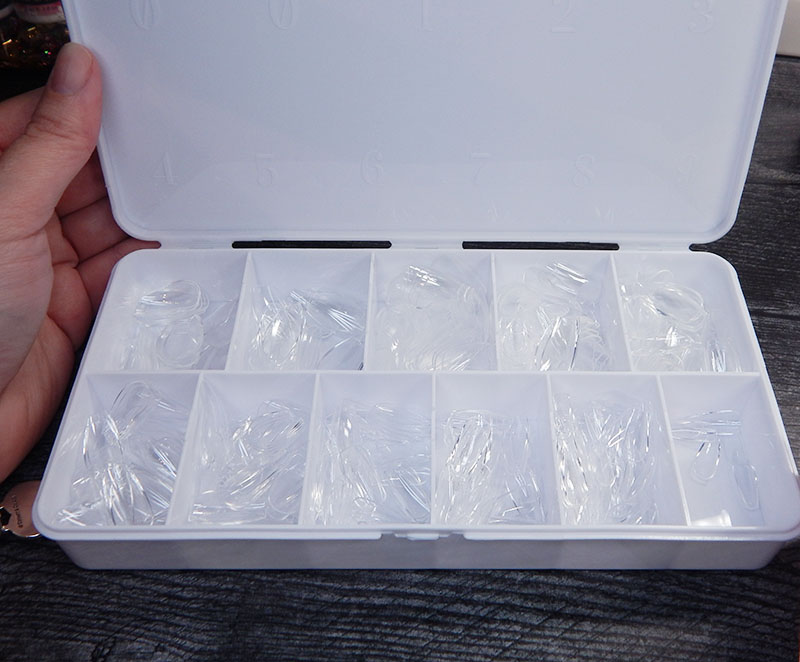
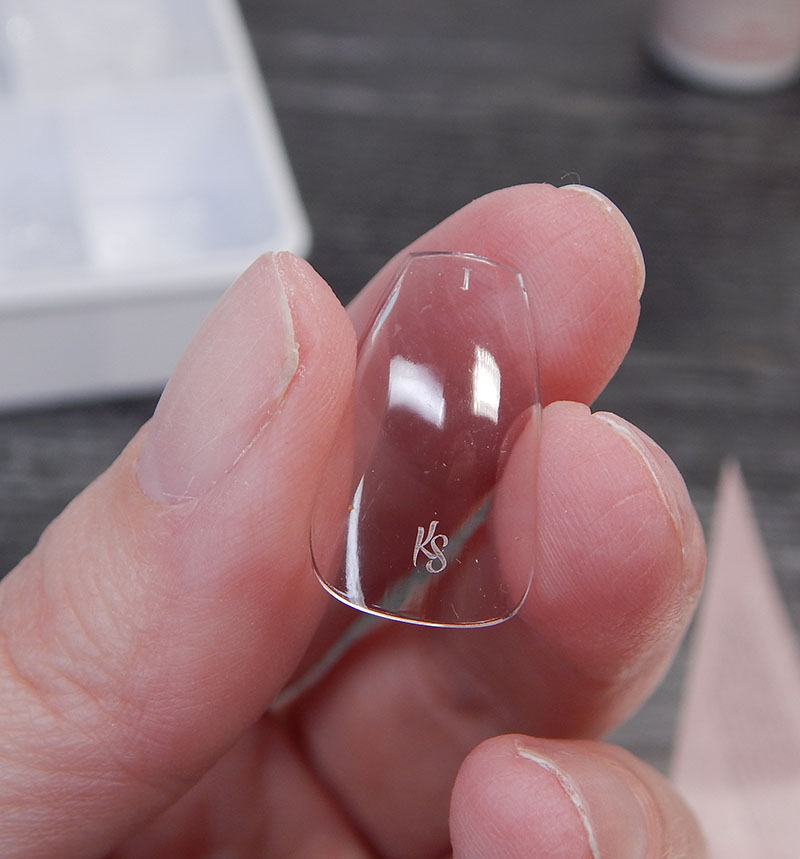
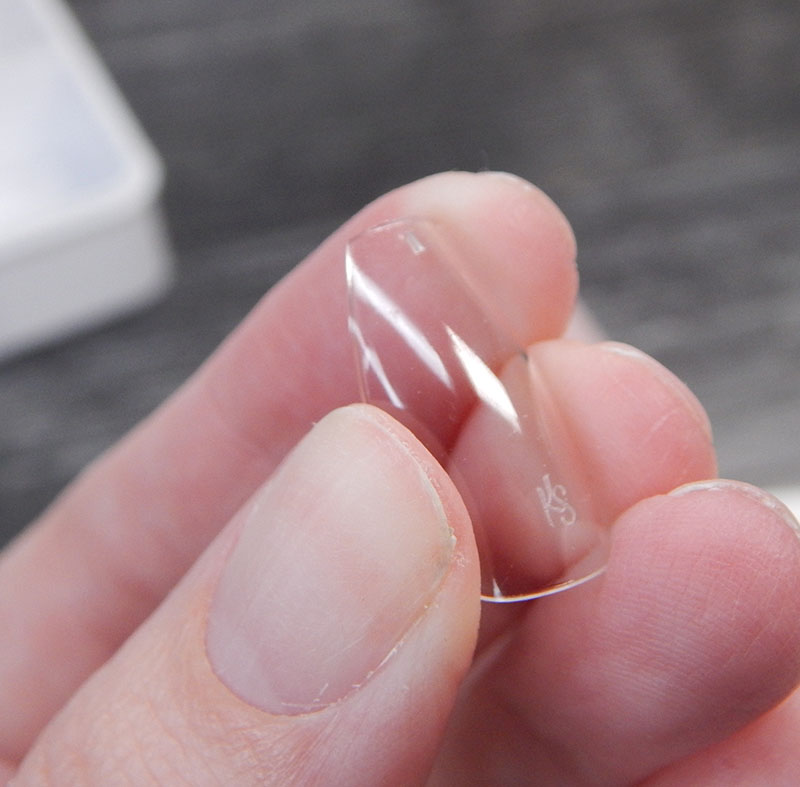
Here are all the Gelly Tips. While the name is “tips” its actually full nails. There are 10 sizes and for me personally – I only use 3 sizes on each hand (Size 8 on Pinky, Size 6 on Index, Middle and Ring and 4 on Thumb) so at the end of the day, I will have a lot of leftovers that don’t fit.
Basically my understanding is that these are like a firm but flexible gel like form and they harden under the lamp. Most nail tips I’ve seen are more plastic. These aren’t flimsy, but they still flex a bit.

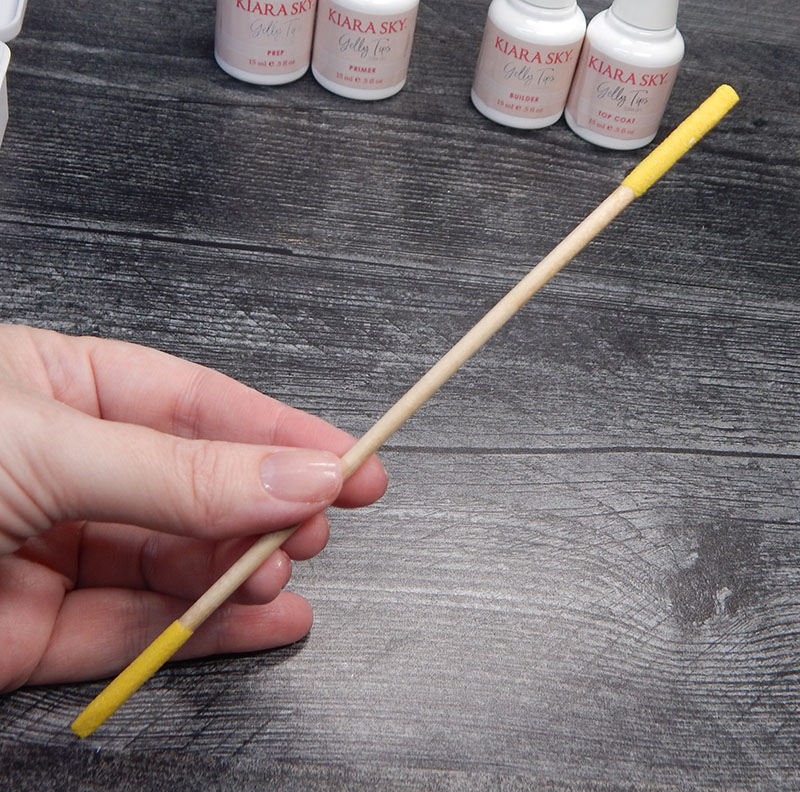
So to get started, I sized up the tips that fit me best. and laid them out. Then, I used this weird file (I honestly don’t know why I have it, but I bought it from Sally’s online – so I think I added it in to get free shipping?) but because I didn’t have an e-file at this point – I needed something to rough up the inside of the nail and this will do.
Next I need to buff my natural nail a little on top to rough them a bit. I am NOT an expert in this kind of thing, but my understanding is the texture will help “grip” the false nail to my natural nail along with the builder gel. If I’m wrong – feel free to correct me – I just followed directions.
I bought this set back in September (affiliate), and I used the 240 grit emery board as well as the 1000/4000 buffer block. I didn’t take a pic for this though for some reason. I used the buffing block on my natural nails to remove the shine.
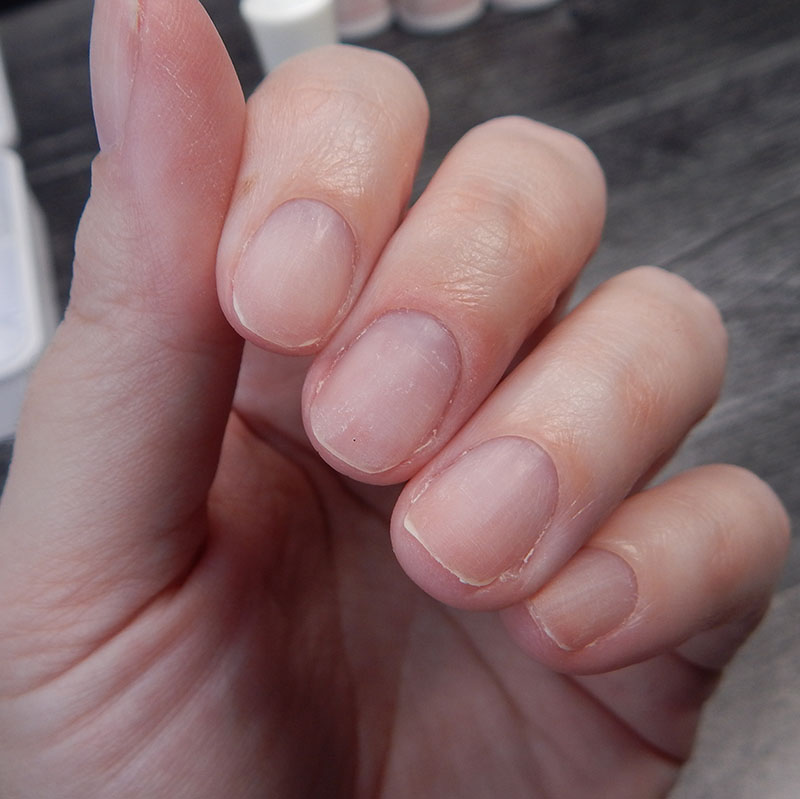
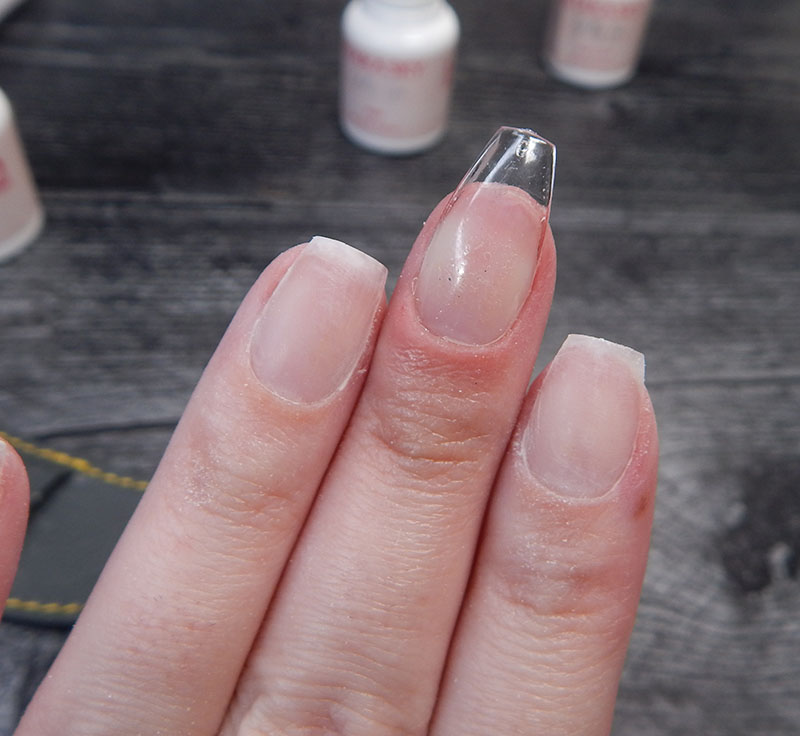
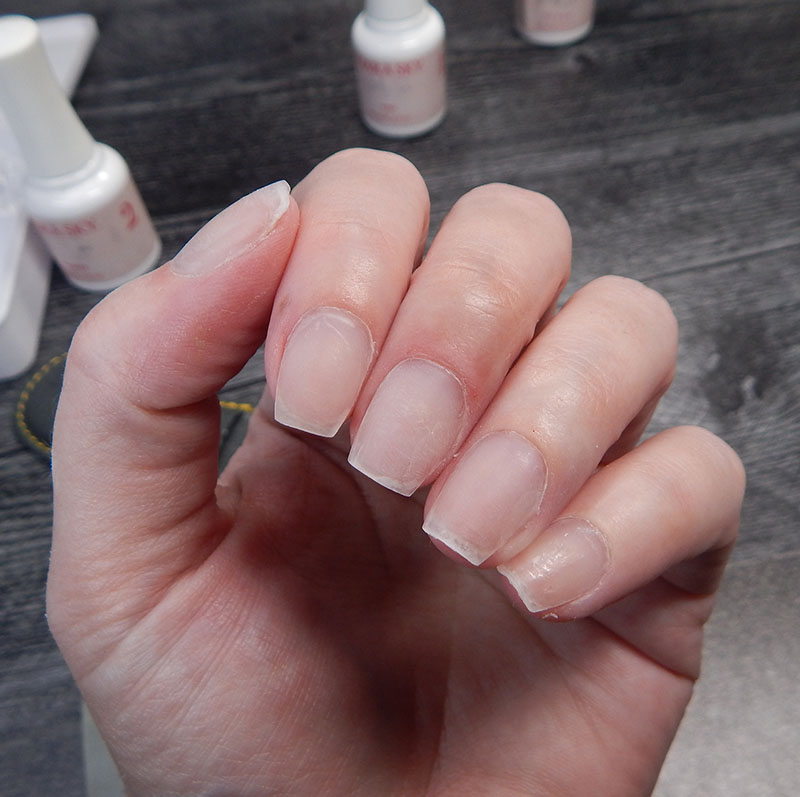
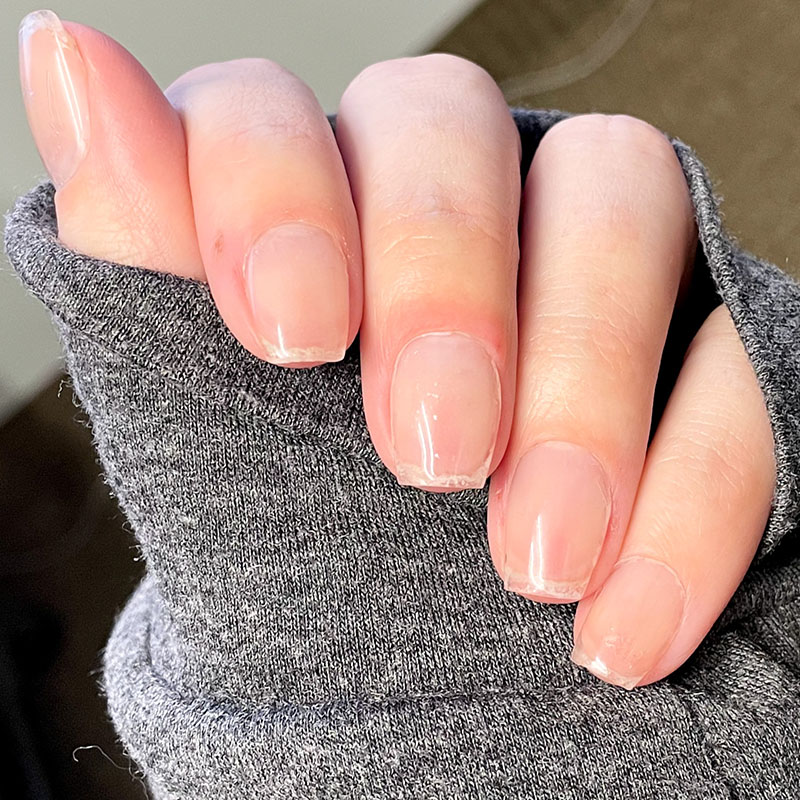
Here is our starting point. I did have to wait a week after the break grew out a little to be able to do these since I didn’t want to accidentally bond my skin to the nail form with the builder gel. I have already gently buffed the tops of the nails as instructed.
The instructions say to start with clean, sanitized nails and hands and prep the cuticles by pushing them back. Then use the prep liquid and apply it to the center of each nail after buffing. Then use the primer liquid all over each nail – from cuticle to tip.
Next, lightly remove the shine from the inside of the gelly tip. That’s where the file on a stick came in, but if you have and electric file – it makes this step 1000x easier.
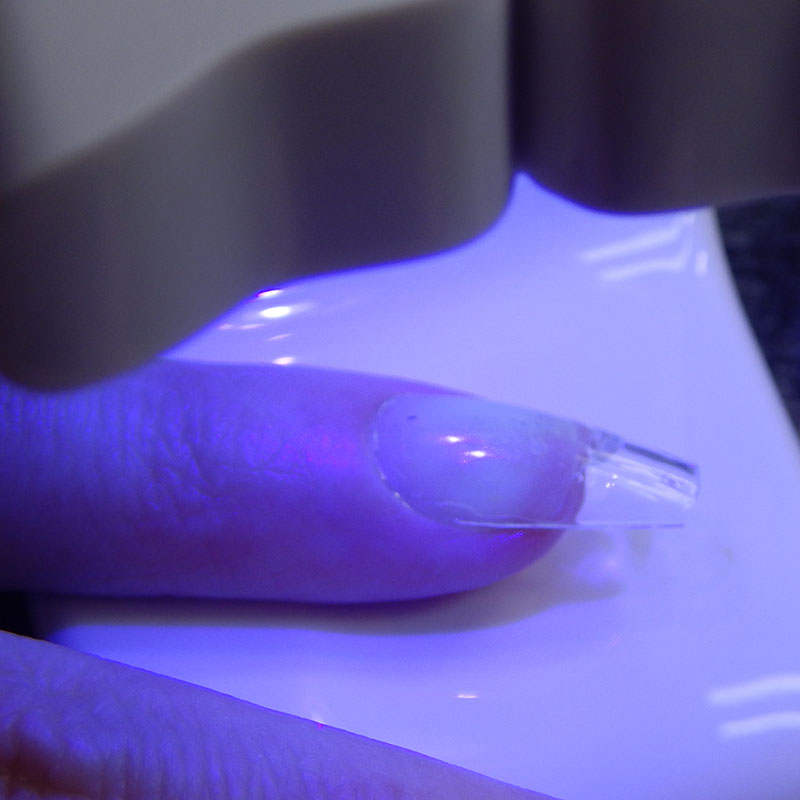
Next, apply a thin layer of builder gel on the natural nail and cure under the lamp for 30 seconds. Then apply a thin layer of the builder gel on the inside of the gelly tip and on the area that will be attached to the nail and press the gelly tip onto the natural nail and press down to remove any air bubbles.
This is where I messed up a few times. Mistakes were made.
First, turn the lamp on right before pressing the gelly tip to the nail. Second – be sure to do a THIN amount of builder gel. This is tricky because the builder gel is thick. Thicker than I expected. Laurie of Dressed Up Digits did say to me (after I talked to her about my application) that she only does the thin amount under the nail and skips it on her nail. I have since tried that and it was much easier and less bubbles or gel spilling over the nail.
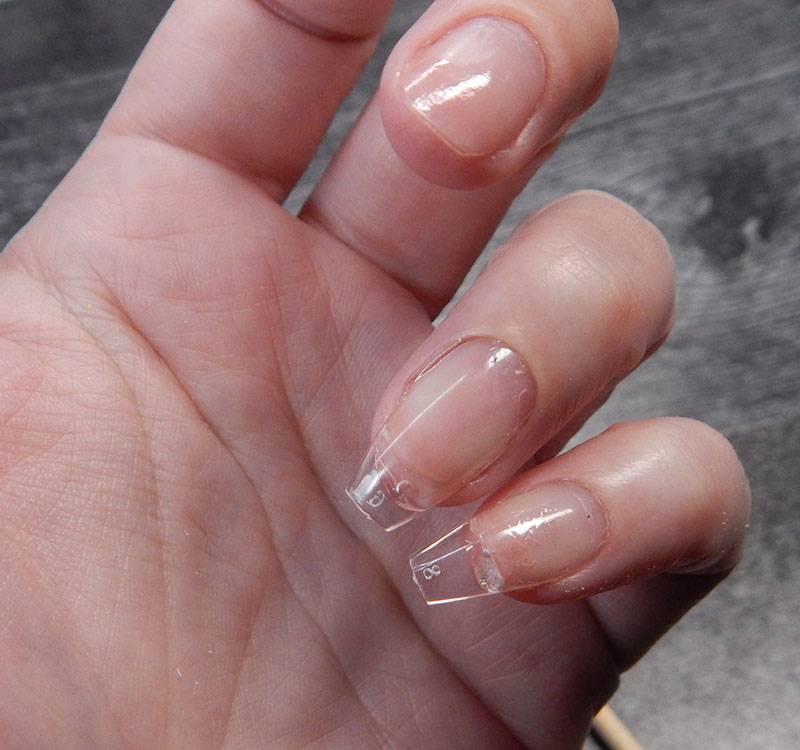
On my first attempt this was where things went bad, you can see where the gel accumulated under the nail and without an efile, I couldn’t just… remove it either. You can see above where this occurred. I have bubbles under the nail as well as the gel spilling out.
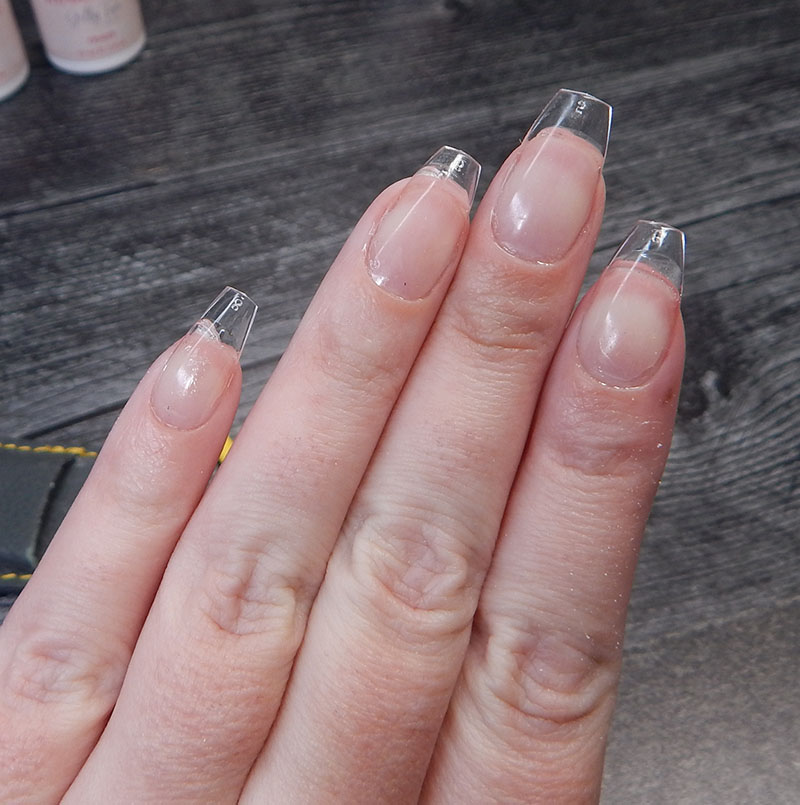
Here are all nails attached. I thought I needed a 5 on the middle finger, but when shaping and bringing down length, I realized it was too wide and looked a little crooked, so I soaked that one off and redid it.
Once redone with the proper size, I finished shaping.
I did want to keep these short at first because I didn’t know how clunky they would feel. My only experience was acrylics and they felt clunky.
I was happy to find out that these feel really natural and lightweight.
I filed, shaped, buffed and got them to what I wanted. Then I applied top coat.
I did get top coat with the kit, but Krys recommended the Kiara Sky Essentials top coat (affiliate), so I used that one. I didn’t take a pic of this either, so I’ll borrow the image link from Amazon Affiliates.

However – I’m sure the top coat provided will be perfectly fine as well.
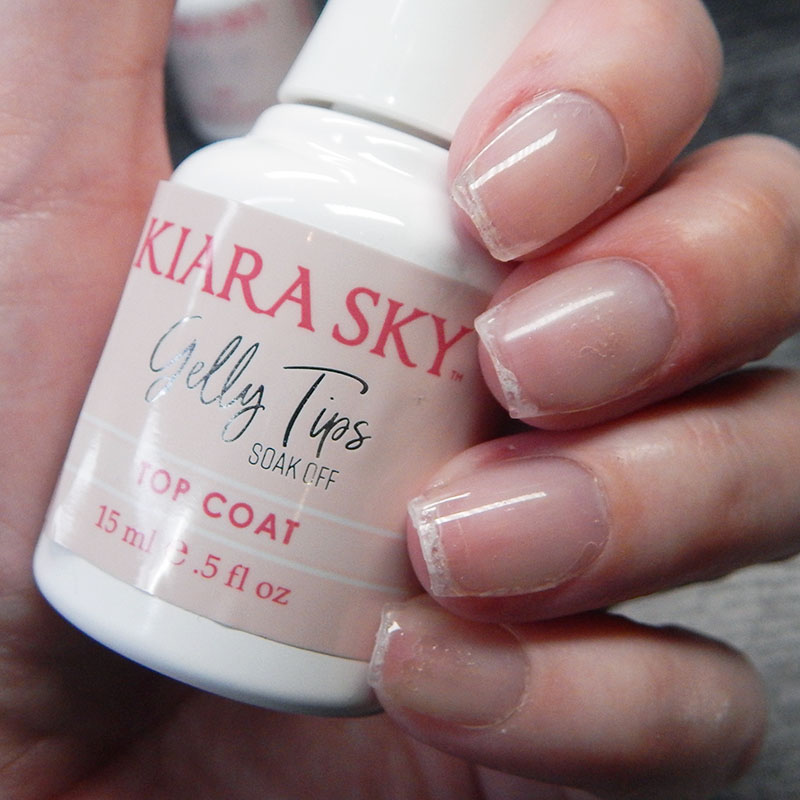
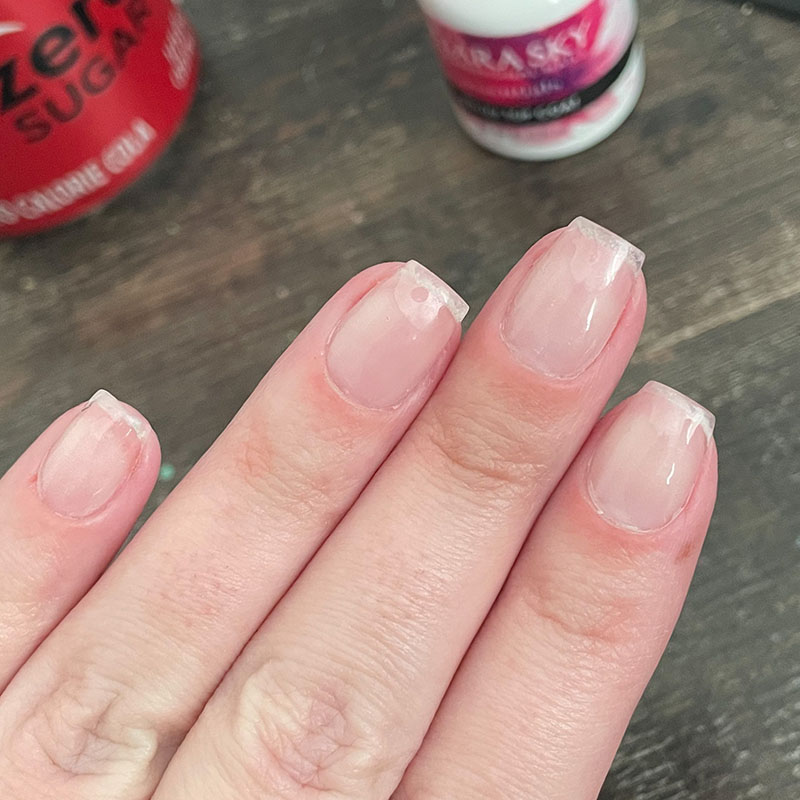
There is my finished first attempt. They don’t look great up close. On my pinky and middle you can see small “shattered glass” like look – and that was because when I went to cure, I didn’t turn the lamp on first, and when I let go of the nail form, the 2 sides of builder gel released and bubbles came in that I couldn’t get rid of.
However – a sheer crelly shade will cover it up and from a slight distance – it really isn’t that noticeable.
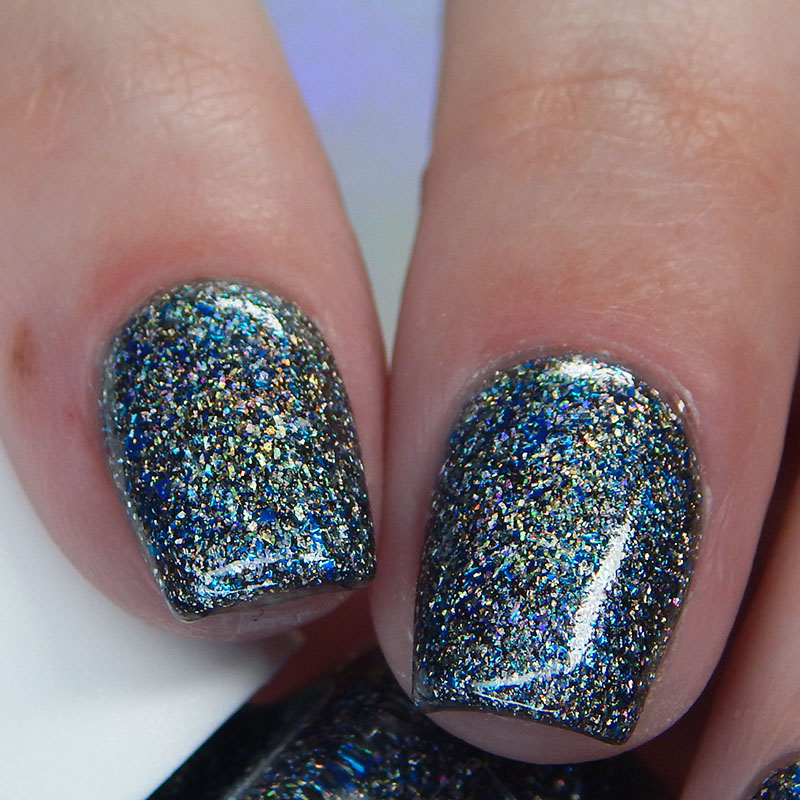
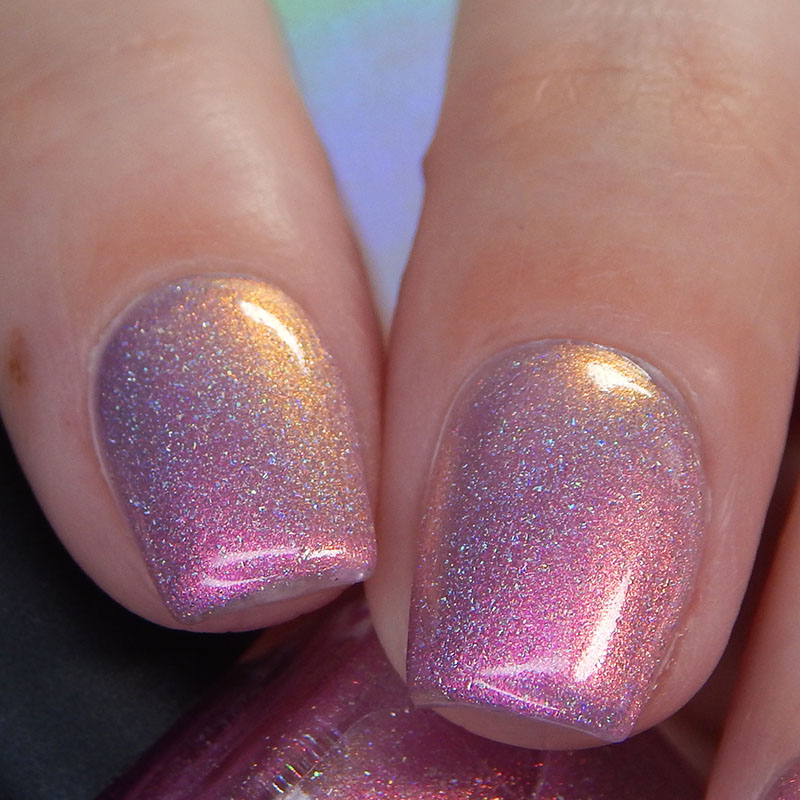
I did swatch the below Press Samples with the first set of nails on, just so you can see that covered – they looked pretty good.
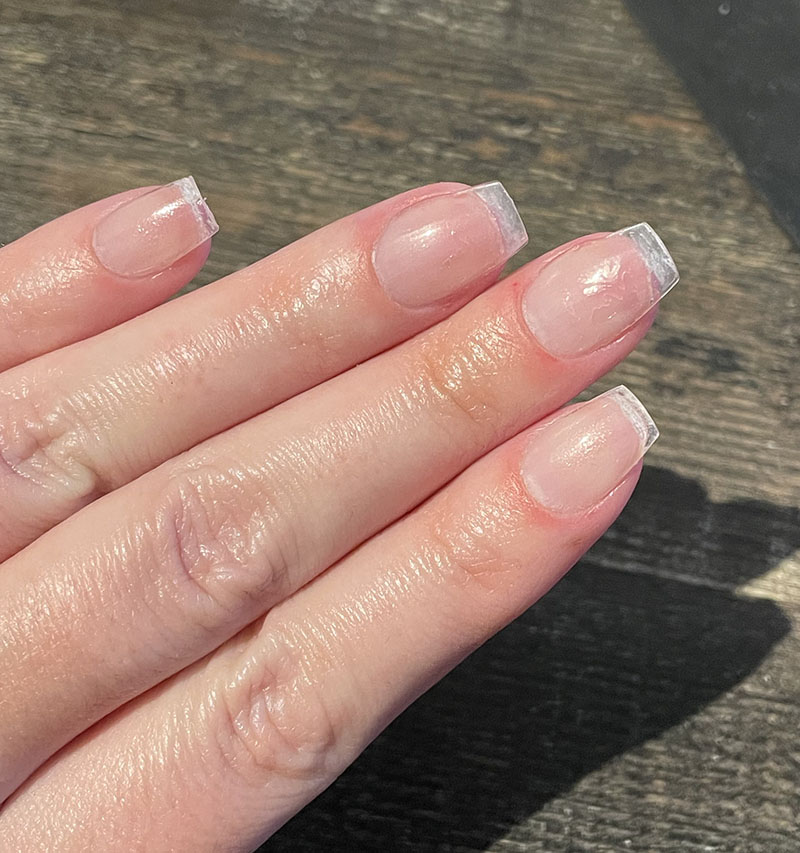
And this was the day after when I posted to IG. You can still see the builder gel buildup but it isn’t as obvious
2nd attempt above. Still some builder gel snafus.
3rd attempt. Left some length, still builder gel issues. This is when I decided to try Laurie’s method, which worked well – but I didn’t photograph.
Below are my current nails (4th attempt) with Fancy Gloss Got Milk? which I bought, but I have worked with Fancy Glopss involving PR before. The rings are PR from R&P Jewelry
So at the end of the day… was I happy with my purchase?
Absolutely. I wish I had done this sooner. Will it be a permanent thing? No, probably not. It might be a Winter thing for me to reinforce my natural nails, but upkeep takes a little time and I’m sure I will get tired of it eventually. For now though – I’m enjoying it.
They are easier to do than expected. I would place them as being easier than doing acrylics or polygel as a beginner. I have been swatching for a couple weeks with them on, and with my peel off base coat and polish remover (Zoya Remove+) they haven’t disintegrated or gotten gross.
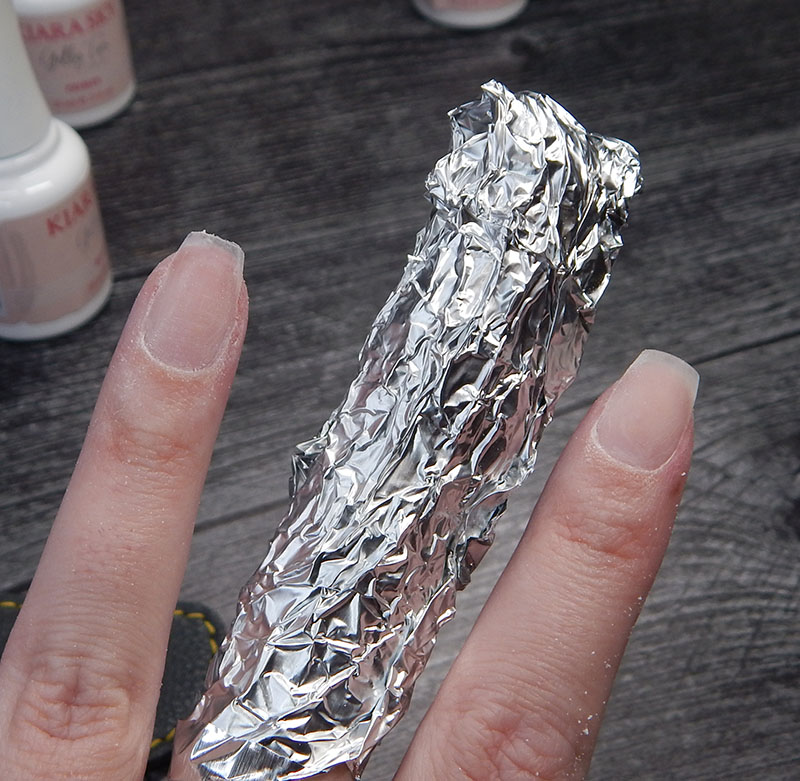
Removal is easy – file off the shine of the top coat and then I bought these foil things (affiliate) to add acetone to and wrap each nail in to soak off.
They looked and felt natural. That was the key for me. I forgot I was wearing them because it didn’t feel like I was wearing them.
My biggest tip for it is to take your time. It’s easy to apply a nail crooked or to just mess it up if you are rushing. Set aside a good, solid 2 hours for the first set. I can now do a set in 40 minutes, but those first 2 while learning – they took longer.
Here are videos I watched on Youtube while learning the process and deciding if I wanted to do this:
Some of these videos also have codes for discounts if you purchase on the Kiara Sky website. I know for sure KnoKnoFuri had one in her video.
Long Hair Pretty Nails: Testing Kiara Sky Gelly Tips Starter Kit
Nicole Pandora: Testing Kiara Sky Gelly Tips Starter Kit
KnoKnoFuri: Testing New Kiara Sky Gelly Tips Kit
Oh!MGlashes: DIY Press On Nails At Home! Using Kiara Sky Gelly Tips
EbonéeNails: Trying Kiara Sky Gelly Tips for the First Time
This is the video I just watched to learn how to fill the Gelly Tips vs soaking off and redoing them.
The Beauty Vault: DIY Gelly Tips Fill + Removal At Home
Here are links to everything I felt I needed for this, including the E-File. It does help with prepping the nails and removal. However – be careful using it. I use it on setting 6 or 7 generally and I go slow to avoid hitting my skin.
Where to Buy: (Amazon Links are Affiliate)
Kiara Sky Gelly Tips Starter Kit: Amazon | Kiara Sky Shop
MelodySusie Scamander Electronic File: Amazon | MelodySusie Website
Kiara Sky Essentials Top Coat: Amazon | Kiara Sky Shop
Buffing Blocks and Files: 100/180 Grit | Buffing Blocks/files (both Amazon Affiliate)
Soak Off Foils for Removal: Amazon
Pretty sure that covered it all. Sorry it was a long read – but I wanted to go over it all.
If I missed anything or you have questions, go ahead and comment and I’ll answer and edit my post to include it as well.
15 comments
Ooh, I got sucked into buying a kit as a backup for all my breakage (I too am in massathreeshts!), but that was before they had a short option. I figured I’d try filing them down. I haven’t tried them yet though. Good to know they worked for you!
Oh yay! I moved here in July – we’re in the process of buying a home now so I guess we’re staying
The longer options were literally what kept me from purchasing, so once they had short ones, I couldn’t say no
I bought a set of the Stiletto kit in April or May 2020 or so after salons had to stay closed here in Texas. They are so great and very user friendly. I love the lamp. I switched to ENailCouture later on for the prep, primer and gels but I still use the KS lamp.
I actually just bought the Stiletto set and it’s on the way. I wanted to try almond, but they’ve been sold out for weeks
I am starting to be curious on these. I have only done press-ons, no acrylics from salons or anything so I’m quite the noob. But I get breaks all the time on my pinky and middle fingers on my left hand. Is it easy to remove polish on these tips? Do you have to redo them each time?
Sorry for taking so long to respond, I wasn’t getting notifications of comments! I use Zoya Remove + and can change my polish multiple times without having to redo the gelly tips.
I just ordered the short square set, as I do not like long nails. My nails are horrendous and always have been. No matter what I do I cannot keep natural nails healthy………..break, split, peel all the time. I am someone who has done everything that is out on the market for nails. Strengtheners, shellacs, gel polishes, molding my own acrylics with tips, press on nails, glue dot nails………….you name it, I’ve tried it!! I was drawn to these nails because they are supposedly “gel” applied…….we’ll see!! I am very anxious to try this new method!! I will return to let you know how it works out!
I hope it’s working well for you!
Are you finding they last for the 3 weeks KS says? My first set lasted 3 days, but it’s a great kit so I’ll chalk that up to a user issue (me!). Yes, the builder is THICK-so going thinner and flower will hopefully give a longer wear time.
Mine last almost 2 weeks and that’s with constant polish changes
I love mine even thought they pop off right away :(
I had some pop off and for me, I wasn’t filing enough on the inside of the nail so it wasn’t adhering properly. I don’t know if that’s the same thing happening with you or not – but if one side (your nail or inside of gel nail) is too smooth it won’t “stick”
I’ve been searching fruitlessly for the width measurements of these nail tips. I have wider nail beds and I don’t want to buy something I can’t return without first knowing the nails will fit. Does the packaging say how wide each size is in millimeters? The length and shape of the Kiara Sky short almond and coffin are perfect so I wouldn’t need to file them at all, I just need to know if the tips will be wide enough?
I personally don’t see anything that says width, but if you email me at [email protected] – I would be happy to send you 1 of each short coffin nail to test width.
Hi Lisa thank you so much for doing your blog on Kiara Sky gelly tips. I’m not a nail tech just a hobbyist and I bought the 500 set last year sometime, but then shied away from doing them just like yourself. Finally a couple of months back I tried them and it took me forever – they kept sliding off before I had chance to cure them! So, I googled to see if anyone else had same problems as myself and found your blog – thank goodness. I followed the advice of your friend and only put builder gel on the tips not on my nails and that was so much better. Also, I don’t think I’d filed the underside enough to get them to stick. So this time I used my e-file and found the builder gel actually stuck to them so much better – before it was just brushing off and not actually sticking! They still took me a good while but my second hand was quicker – I’m getting there slowly thanks to your blog!
Best wishes!
Comments are closed.