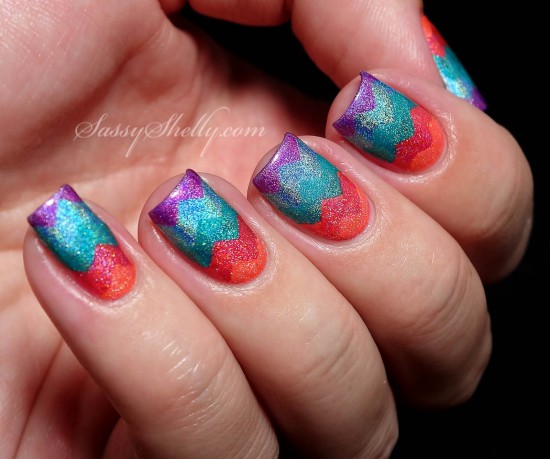
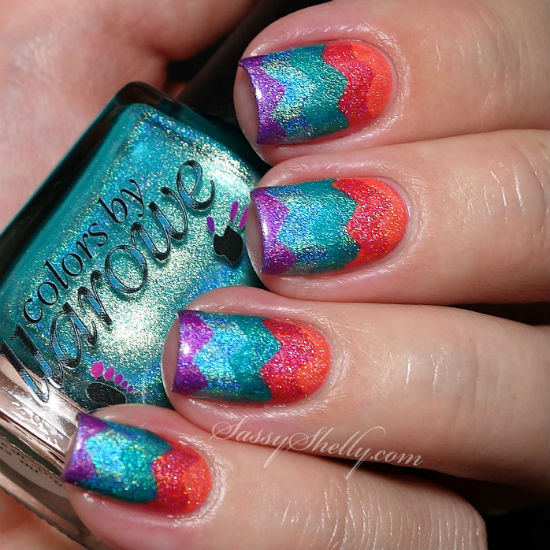
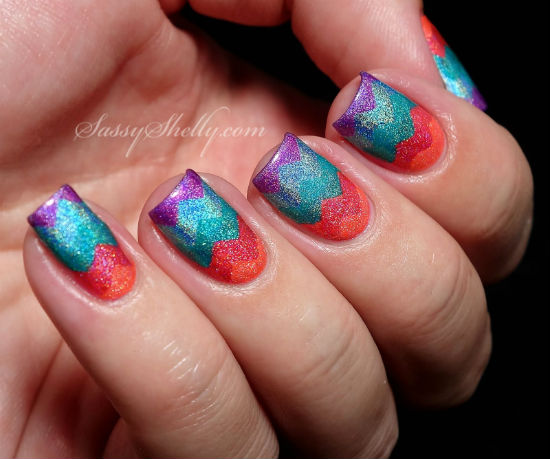
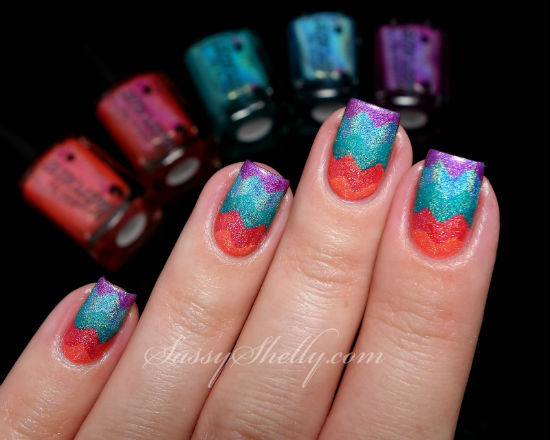
Hello Cosmetic Sanctuary fans! I’m Shelly from SassyShelly.com and I am beyond thrilled to be doing this guest post today! Cosmetic Sanctuary was one of the very first beauty blogs that I discovered when I came into this world 3 years ago and I have been an avid reader ever since. I wish I had the courage to do all of the beauty product reviews like Lisa does, but nails are more my forte so I came up with a fun summery chevron nail art design to share with you all today!
To create this look I used 5 holographic polishes from the new Colors by Llarowe Summer Collection. My Own Private Paradise (purple), Chillin In Paradise (blue), So Refreshing (green), Anna’s Adventure (pink), and Nice Melons (orange).
To make the rainbow of chevrons I began by painting the top half of my nails blue and the lower half pink. Once dry I placed 2 Nail Vinyl Chevron decals on each nail – one covering a section of blue and one covering a section of pink. I then used the remaining colors to paint stripes between the decals. I pulled the vinyls off with tweezers while the polish was still wet then sealed in the design with Seche Vite fast dry topcoat. Hopefully that description makes sense.. maybe I will do a tutorial on it one day.
My blog focuses mainly on nail art and swatches. If you’re a fellow polish lover stop by and visit me sometime at SassyShelly.com, Shelly’s Sassy Nails on Faceboook or @SassyShelly129 on Instagram and everywhere else. :)
Thanks for reading! I hope you’ve enjoyed this post as much as I’ve enjoyed writing it. It has been an honor to be featured here on Cosmetic Sanctuary. Thank you Lisa! xoxo


7 comments
This is stunning! I love the colors you chose!
Love the color and chevron pattern! The design look chic and standout, what a beautiful mani!
very pretty to look fingernails are always treated
Separate shots of the newlyweds and their parents are traditional.
The photographs may be more stylish but the actual
experience on the day for the bride and groom is very similar.
After an initial contact, it would be helpful to meet in person so that information can be discussed
further and previous photo work can be viewed.
[…] they Cool! I did a similar mani for a guest post on Cosmetic Sanctuary last year. But with these I added a reverse stamping aka advanced stamping aka stamping decal (we […]
Hello I am so thrilled I found your site, I really found you by mistake,
while I was searching on Bing for something else, Anyhow I am here now and would just like to say thanks a lot for
a remarkable post and a all round enjoyable blog (I also love the theme/design), I don’t have time to browse it all at the minute but I have saved it and also included your RSS feeds,
so when I have time I will be back to read much more, Please do
keep up the great jo.
Mezclamos la harina, la sal, la diastasa y el agua, y removemos
hasta que se forme una pasta que dejaremos reposar a lo largo
de 10 minutos.
Comments are closed.