Neon Laser Tape Manicure Tutorial
I wanted to share a fairly easy nail art tutorial with you today! This is a fun, colorful manicure – especially for summer.
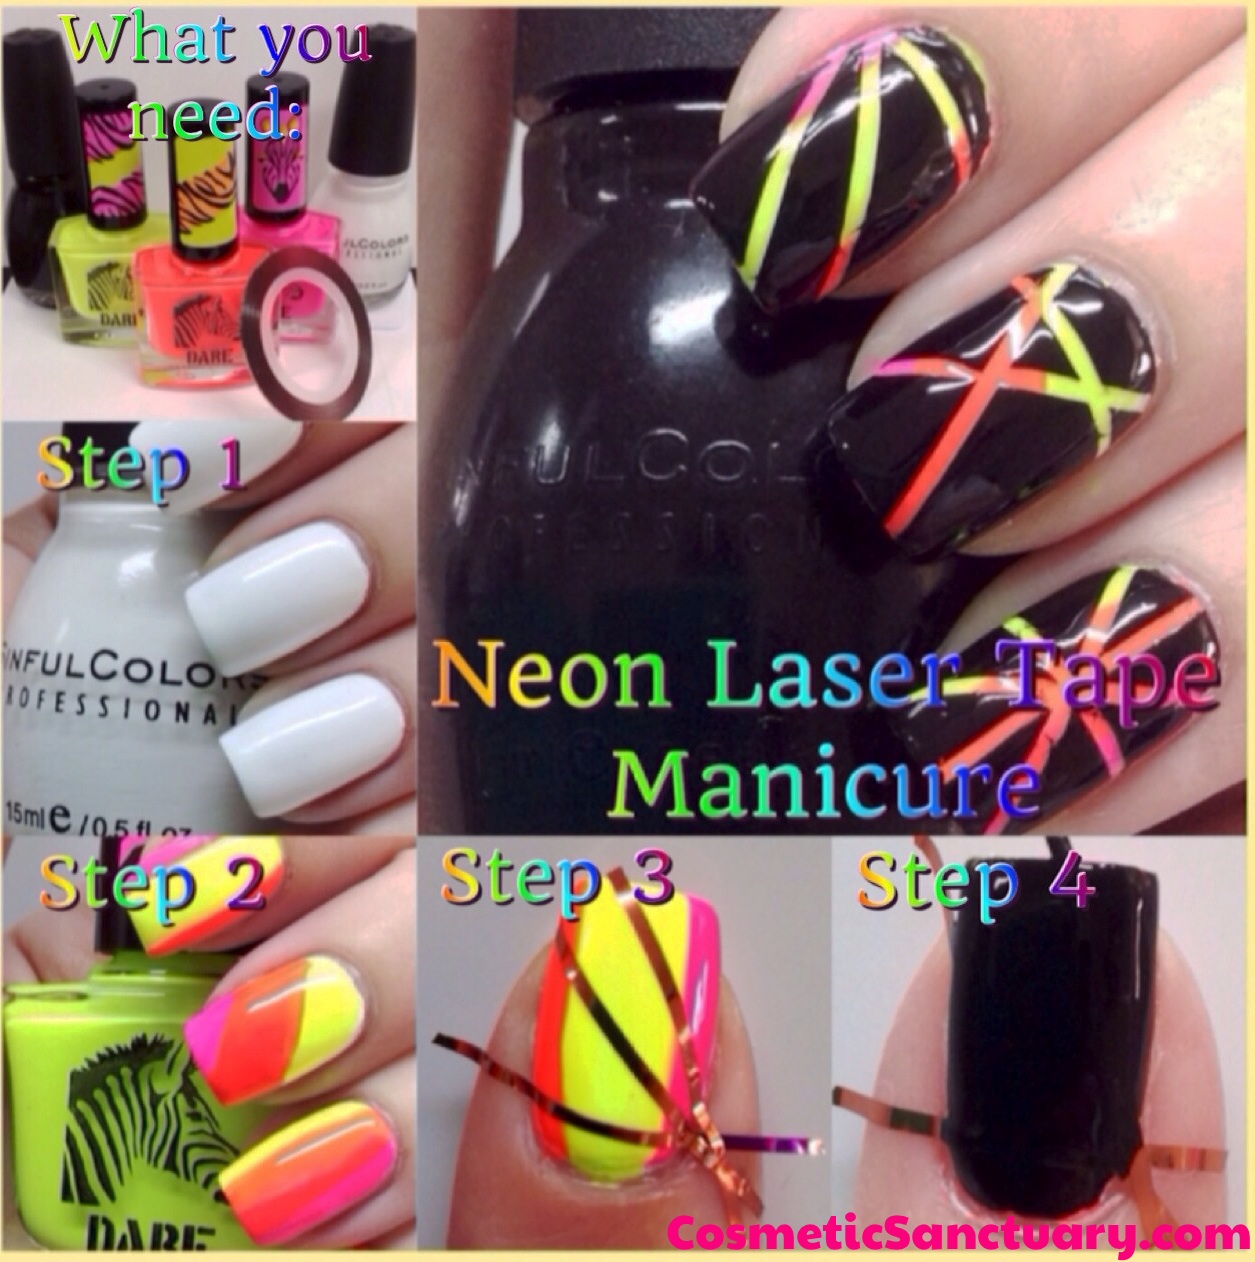
Here is what you will need for this mani:
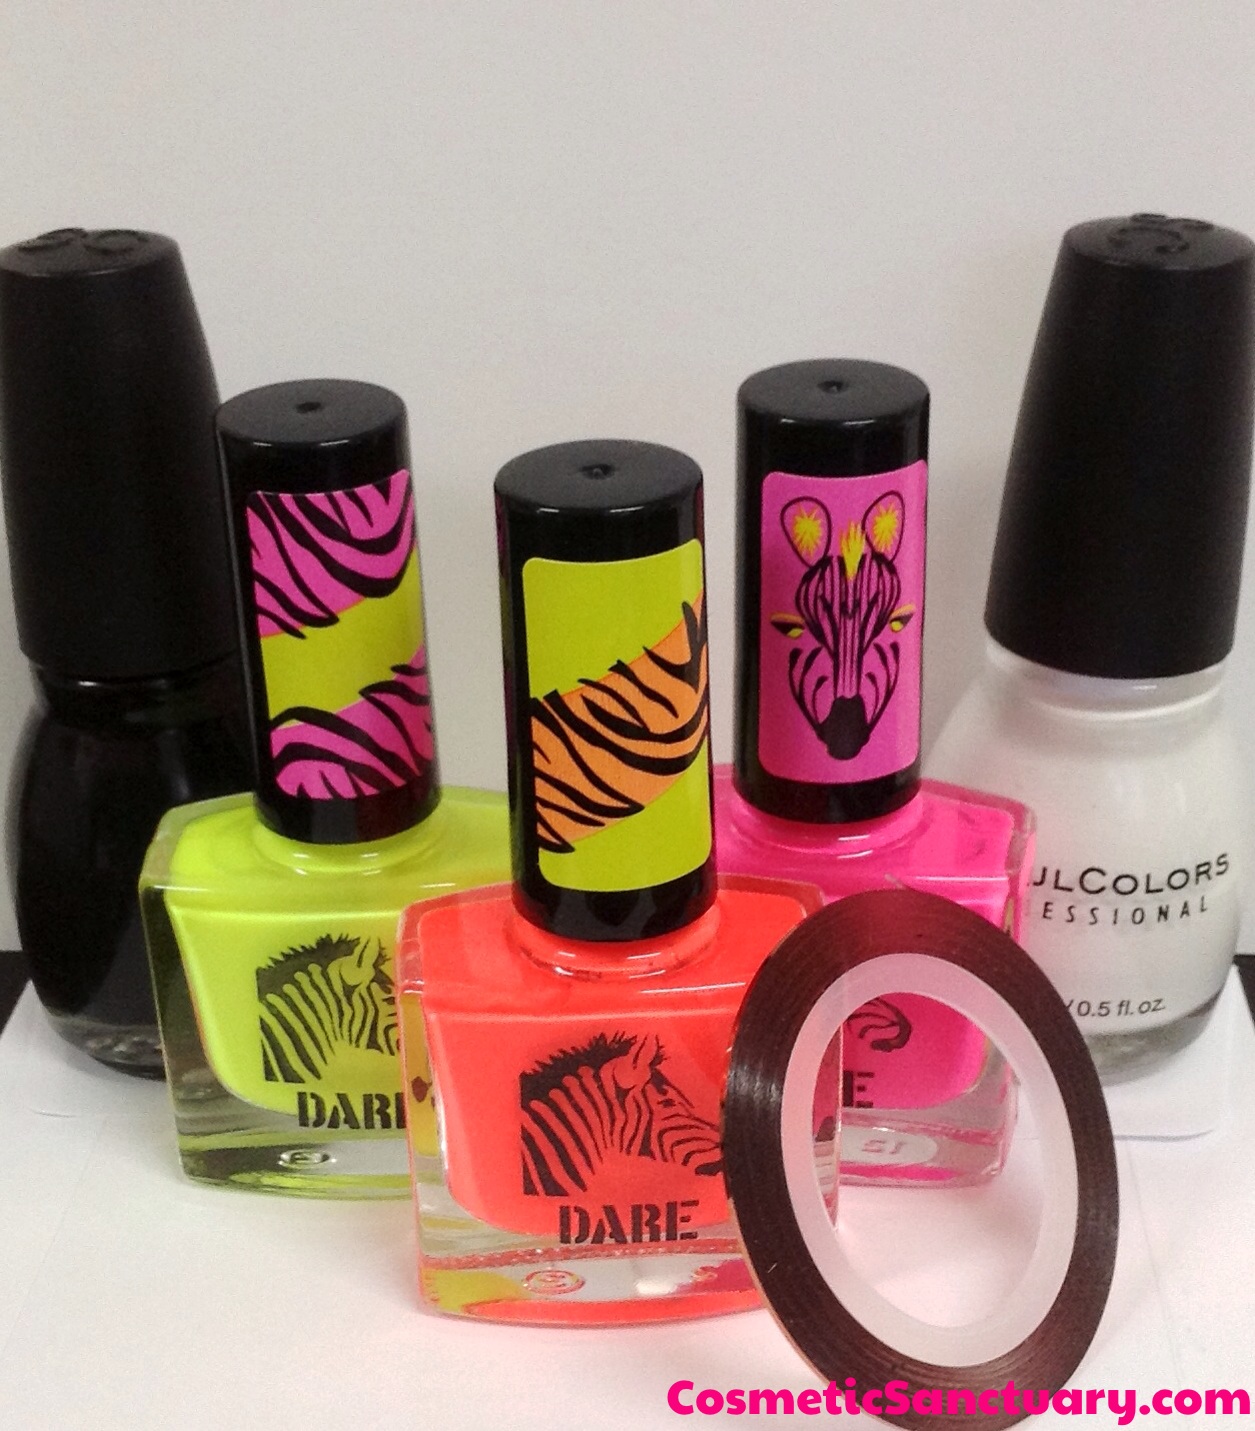
I have Sinful Colors Snow Me White for the base, Dare Colors in Social Magnet (neon yellow), Heating Up (neon orange) and Bold Move (neon pink). For the top I used Sinful Colors Black on Black. You will also need striping tape (striping tape can be found on Ebay or Amazon and generally costs a few dollars for 10 rolls of tape!).
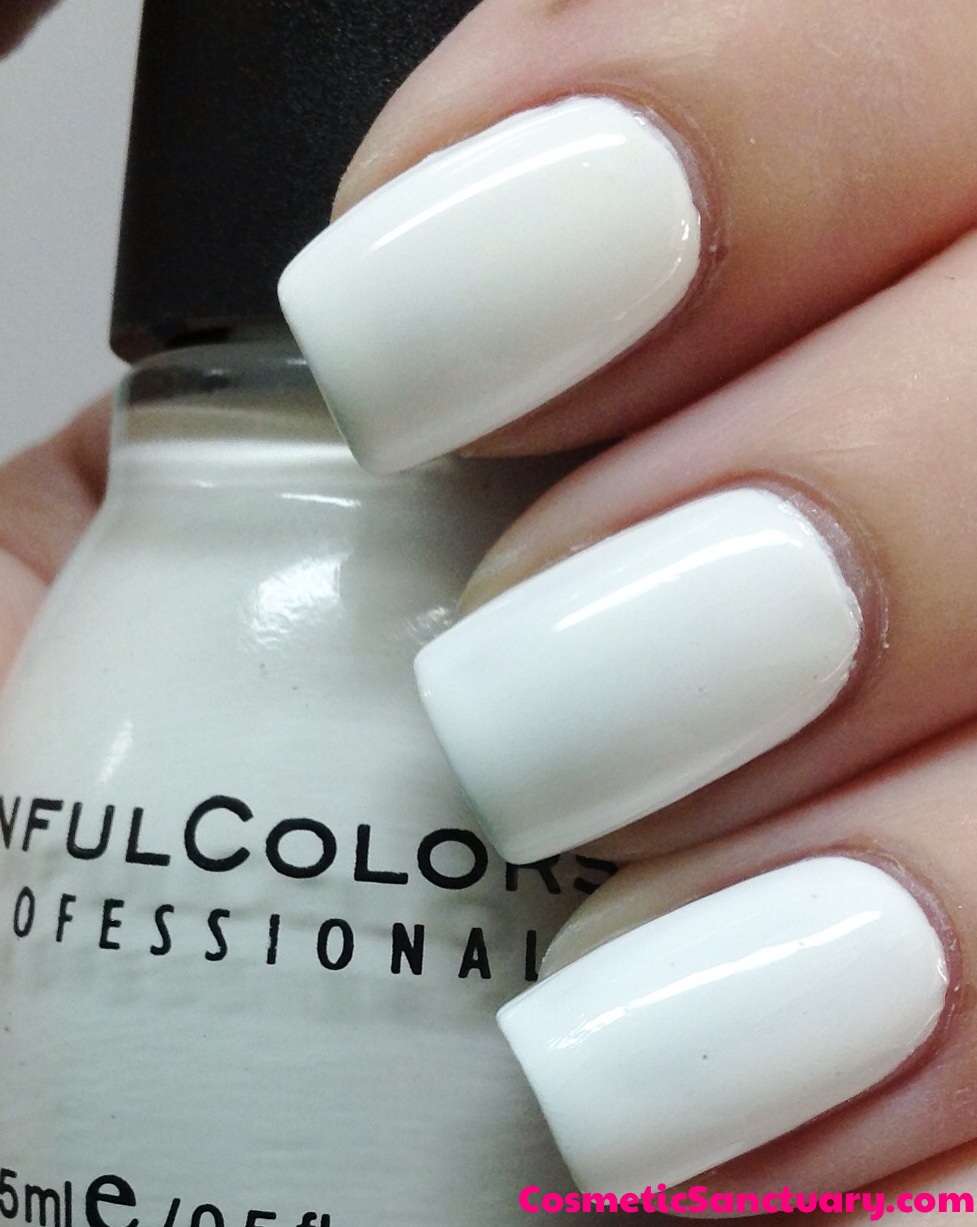
To start, I applied 2 coats of Sinful Colors Snow Me White. This gives the neon polishes a surface they will really stand out on.
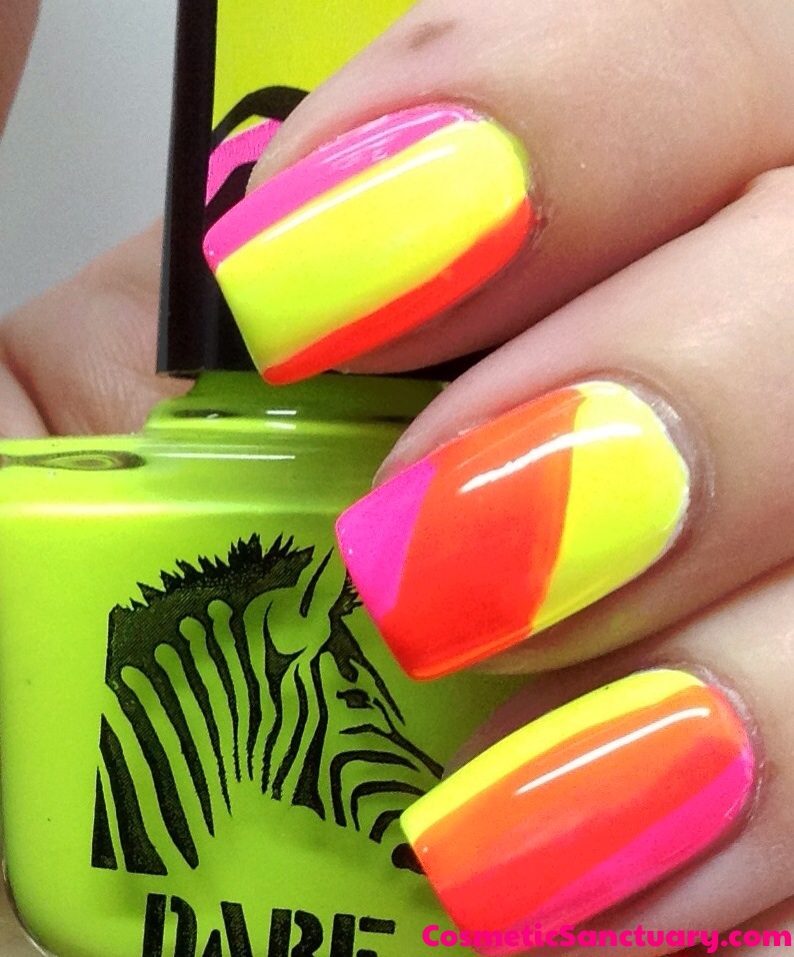
Once the white base completely dried, I took my 3 neon shades and randomly painted my nails. I waited about 3 minutes in between each color I did. Neon’s tend to dry a lot faster than other colors so it didn’t take long at all. This step does not have to be neat because the black top layer will cover most of it. Apply a clear top coat over the neon shades. Most neon shades dry to a matte finish, so a top coat will help make them shine again.
Next, grab your striping tape! I tend to do 1 nail at a time for this step. I apply the striping tape to my nails in random designs so that each nail is slightly different. Make sure the tape is completely on the nail! If there is any lifting to the tape, the black polish will seep under a bit. Remember what order you applied the tape as well! You will remove each strip 1 at a time and if any are overlapping, you might drag the tape over the paint up and will need to start over on that nail.
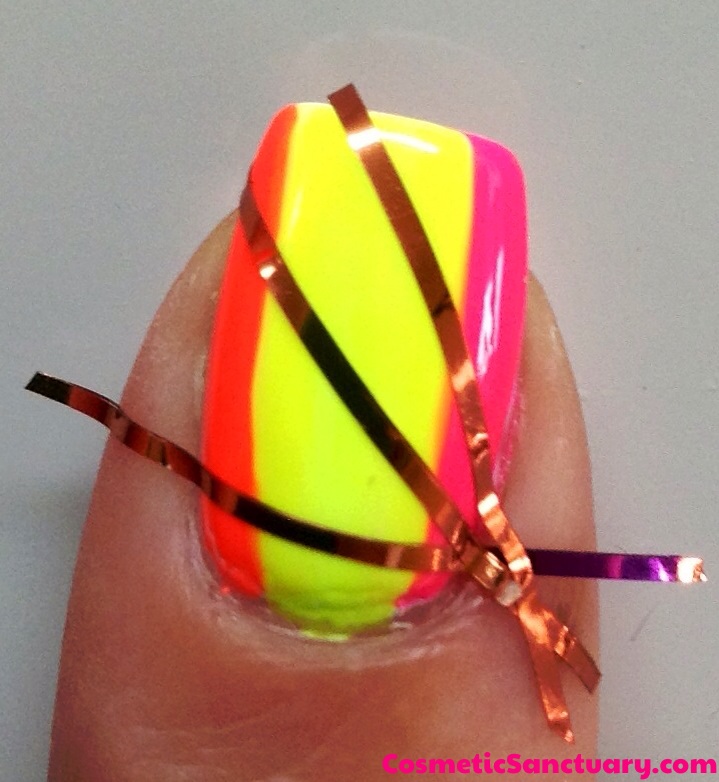
Once you have the tape on the nail, paint over the entire nail, tape and all, with Sinful Colors Black on Black!
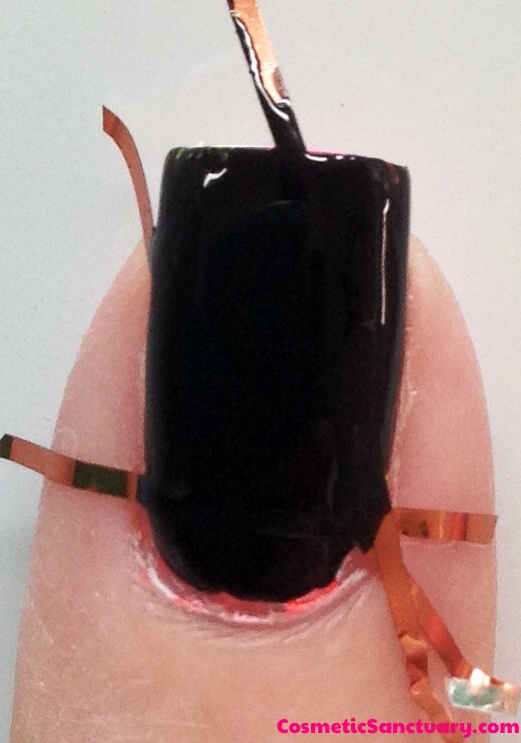
You will want to remove the tape before the polish starts to dry or gets stringy. Like I said, make sure you remove them in the opposite order you applied them so that you don’t drag the tape across the design at all.
Rinse and repeat with each nail! They do not have to be uniform at all! Apply a top coat to complete your manicure! I used Seche Vite for a fast drying top coat!
Finished Neon Laser Manicure:
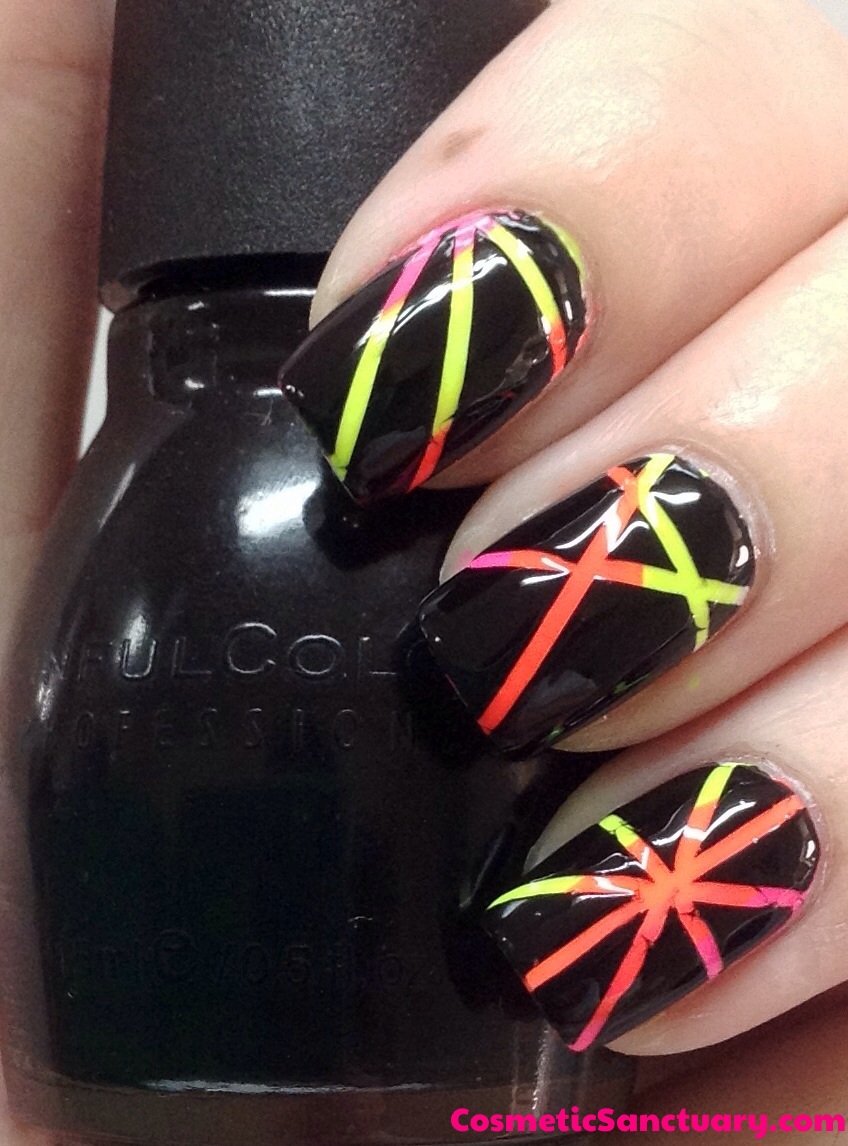
Definitely a fun manicure to do! You can switch up the colors to be anything you want! I personally love how the black top coat really makes the neon colors stand out!
Where can you find the items I used in this post?
Dare Colors Neon Polish – Available exclusively in Walmart (sold in a 4 pack – these colors were part of the Party Animal pack)
Sinful Colors – Available in Walgreens
Striping Tape – I always get the best deals for striping tape on Ebay and Amazon. I paid less than $5.00 (shipping included) for 30 rolls on Amazon.com
Hope you enjoyed this Neon Laser Tape Manicure!
***Dare Colors Neon Polish was provided to me for review. Sinful Colors polish and Striping Tape were purchased by me***
8 comments
Wow! Awesome tutorial and easy to understand! LOVE!
Thank you Michelle! It’s been over a year since I did one <3
Love it!
Thank you Shipra!
That is fantastic! Thanks for the step-by-step instructions.
Thank you so much! I don’t do tutorials often so I was worried I wouldn’t explain it well enough!
you should do more tutorials !! they are very easy to understand :)
Thank you so much Moriah!
Comments are closed.