Adventures in Stamping
I try to be a patient person, but sometimes, it’s just not in the cards! Nail stamping has a learning curve, and in the beginning it requires patience. I’ve attempted stamping on a few occasions but after 2-3 hiccups I usually just give up and slide everything to the side of my desk and just give it the evil eye for awhile. My boyfriend, being the perfectionist he is, picked the plates up, asked what to do with them and he wanted to try. I thought “aww, bless his heart!” and told him the basics. That little brat got a perfect image stamp on his first try. FIRST. TRY.
This was now war. But I pretended to be busy and “I would get to it later when I had time!”
When I received a box a month later to swatch, boy did my eyes get big and some choice words escaped my mouth when I saw… the stamping supplies. This time I HAD to learn. I’ll tell you what, when your boyfriend who pulled off a perfect stamp is watching, the determination pushes you.
I received 3 image plates that are sold exclusively in Llarowe’s Shop. The 3 plates accompanied a double sided stamper as well as a scraper for the plates. Here are the supplies:
(Images used from Llarowe)
I’m intrigued by these because the images are cute and not too “girly-girl”. I am only showing 2 plates right now, the third one I have saved for another post :)
As you can see, the double sided stamper is good for small images on one side (Mainly the one I used for these images) while the other side works for full images. I used Milani High Speed Fast Dry polishes for stamping. Since I am new to this – I did basic black and white images. No need to get fancy the first time around (for me anyway!)
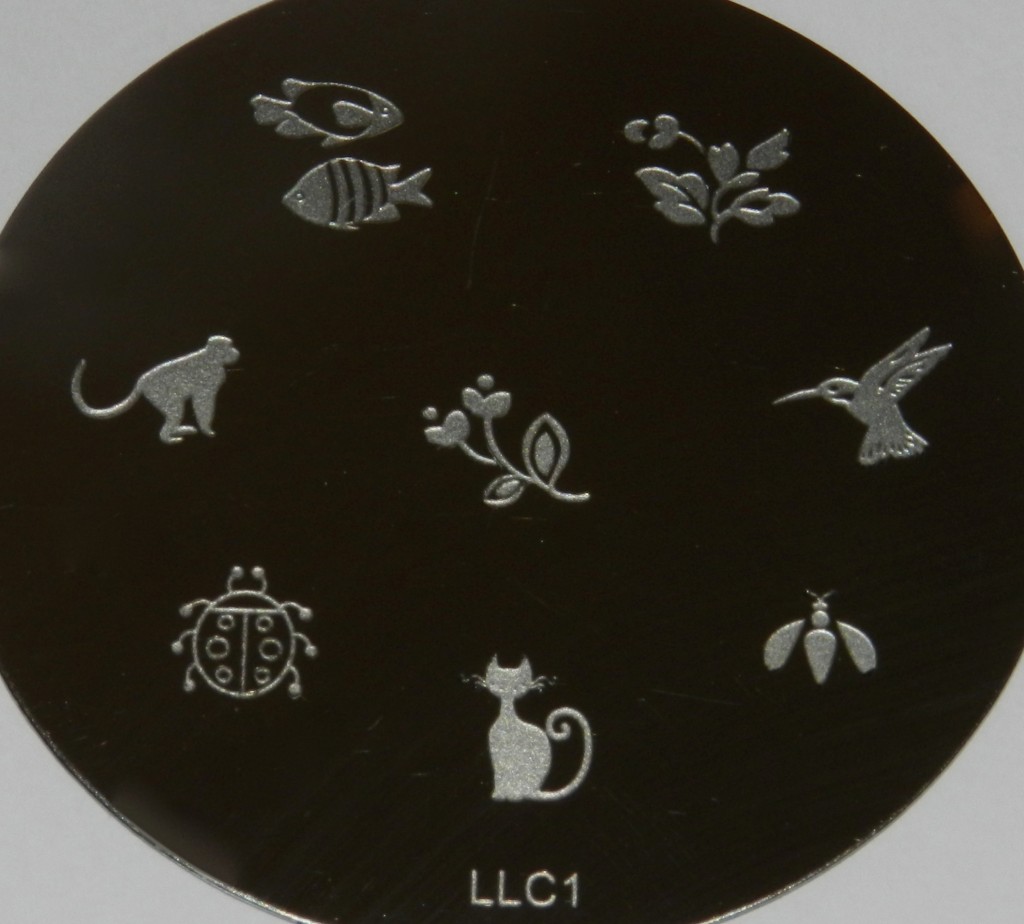
Here we go with image 1
The Plate:
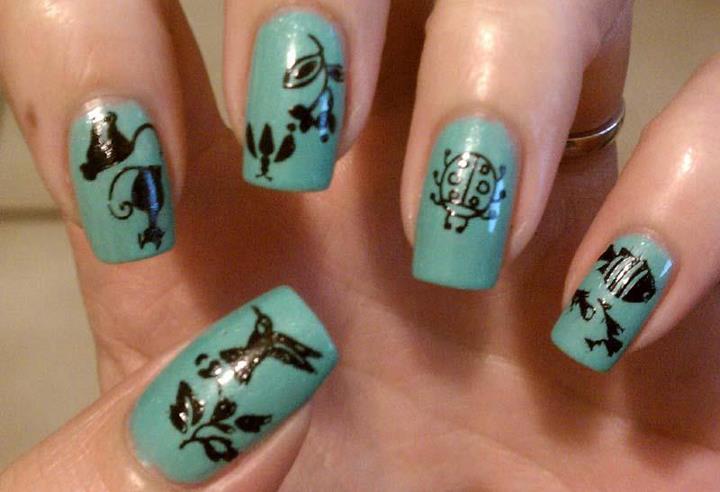
The Result:
Not too shabby if I do say so myself! I used piCture pOlish Jade as the base color and I used Milani Swift Black to stamp with! This was the first successful stamping attempt and the first one that made it to top coat stage!
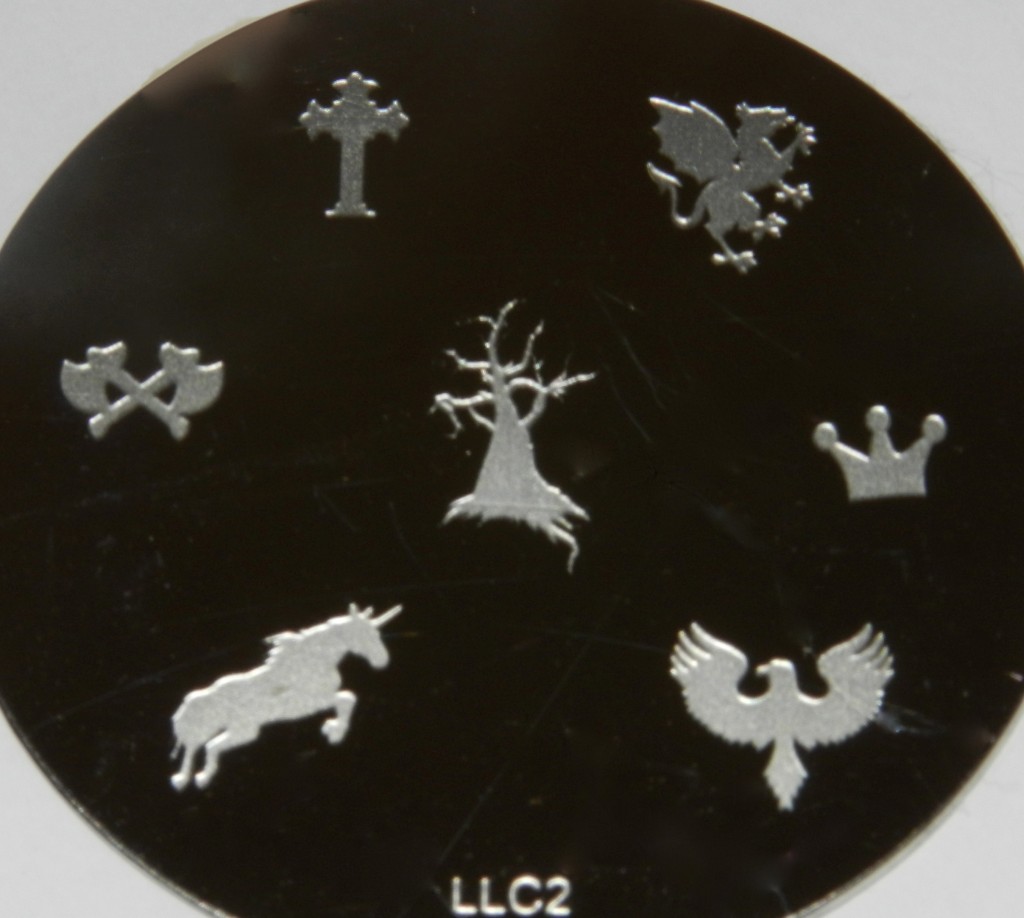
Now for Image 2:
The Plate:
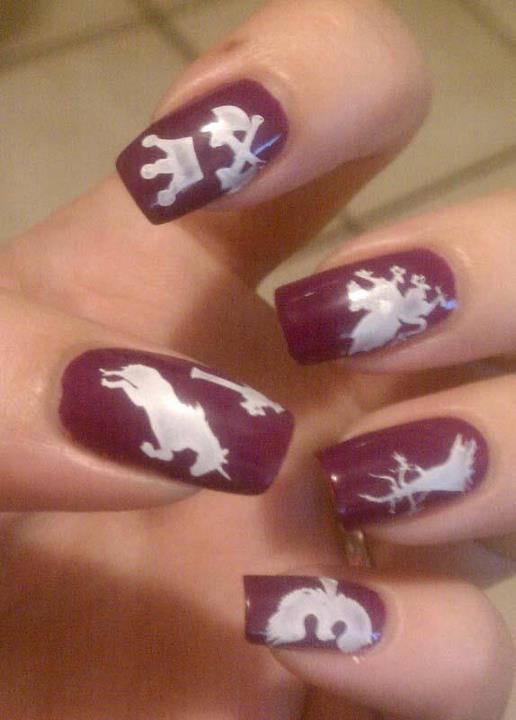
The Result:
These images were slightly larger than plate one. One I had to turn sideways for it to fit on my nail. I have fairly narrow nail though. LOVED the “haunted tree”. This time I used a base of Sheswai F***Yeah and Milani White on the Spot to stamp with. I was surprised that I was able to pick up the smaller detail from these plates easily. This was successful attempt #2!
I will have a new post up shortly with Image Plate 3!
I’m going to share a few tips some close friends gave me for stamping (that were important) :
- Make sure polish base color is completely dry
- Use a fast dry top coat over base color, this way if you mess up stamping, you can lightly wipe the image away without having to start the base color over
- ROLL the stamper from left to right (or right to left), this will transfer the full image easier and with all detail still intact.
- Allow image polish to dry before adding a top coat, otherwise you chance smearing the image.
- Take your time!
Now I’ve semi mastered the small images, I think I’m ready for the Full Nail Image type plates!
You can find these image plates, as well as others, in Llarowe’s Shop. Small plates are $5.00 and full image plates are $20.00
The image plates were designed as a collaboration by Leah Ann Llarowe, Laura Braga de Pinho and her mother Celia.
**Products in this review were provided for swatching. All opinions are my own.***


3 comments
I am terrible at stamping but refuse to give up. It’s nice to know that even the really talented bloggers are going through the same thing!
Some of us do Shannon. I did decent at water marbling early on, but all other nail art forms I seriously lack in. Keep at it! You’ll get it :)
[…] back with the second part of my stamping adventures. Head over to read Part 1 if you missed it […]
Comments are closed.