
Press Sample of Baroness X
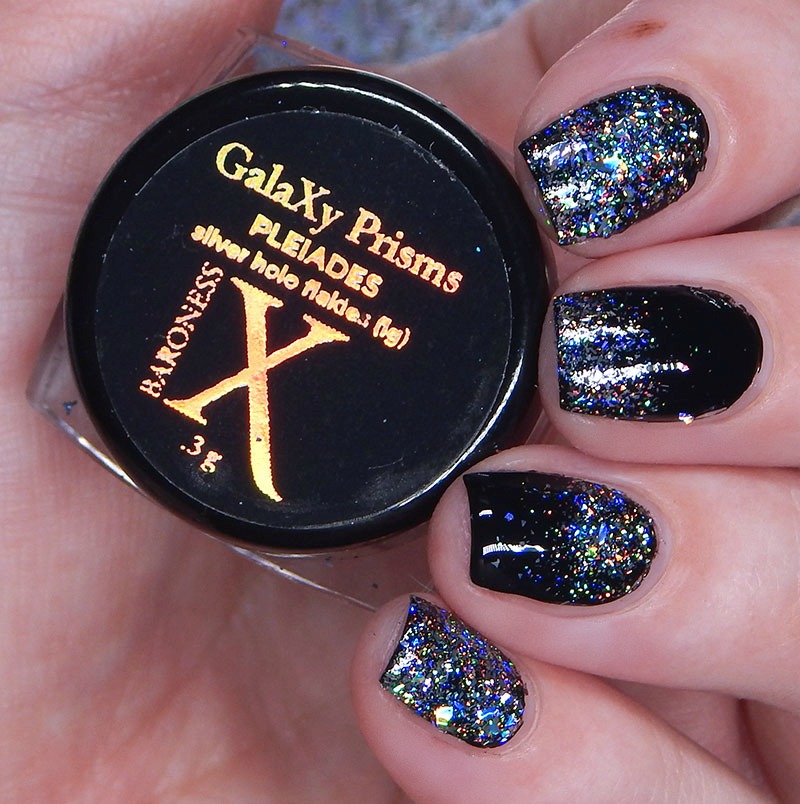
GalaXy Prisms | Pleiades
Good morning and happy Saturday! I’m kicking the day off with the start of a little “series” I’ll be posting over the next few days. Demi of Baroness X sent me a hearty amount of her burnishing powders and glitters and flakes to review, and first we’re looking at Baroness X GalaXy Prisms in Pleiades.
Now, I can’t be a total grownup and use these without making a tiny mess which is what took so long to get these up. While they are easy to use and pretty fun – taking photos after doing a series of them gets messy and I redid some so the photos didn’t look like a 5 year old dug her fingers into mommy’s makeup. The first photo always turned out well, but since there is usually a series of apply, photograph, remove, apply, etc – after 3 sets of photos the pigment builds up in crevices and dry skin patches and just doesn’t look good. And if I wash my hands between photos – my nails do the weird flared out, bendy thing and .. yeah.
So I’m finally ready to show them off.
First is the Baroness X GalaXy Prisms in Pleiades which is the only flake one thus far. I also have the GalaXy Glitters to share ) which will be up later today, then the Glints Iridescent powders, and finally the Glints Iridescent Holographic powders. In all -by Monday – I’ll have shown 26 of the offerings in burnishing goodies from Baroness X.
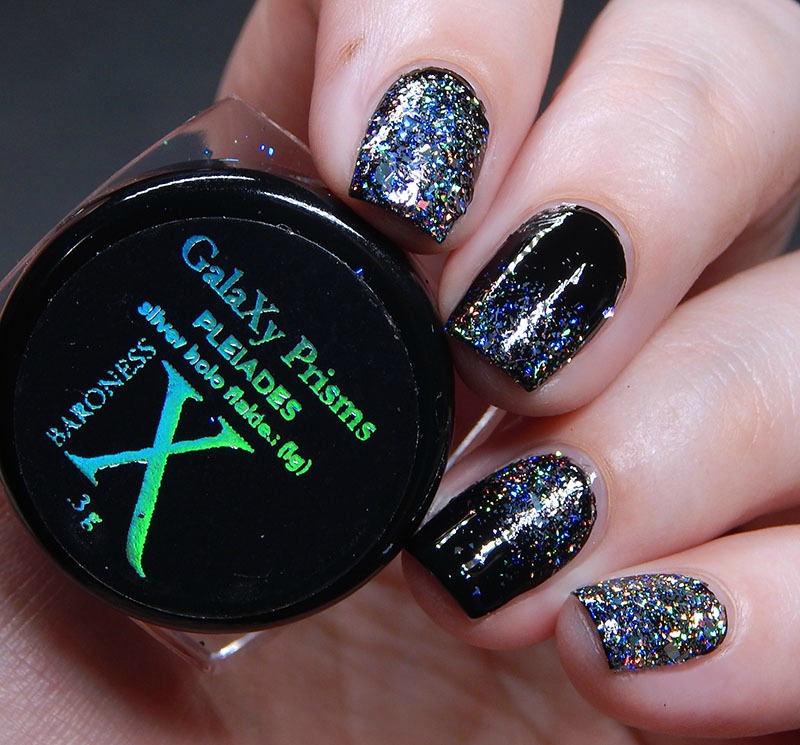
All of these photos were done using Girly Bits ‘It’s Definitely Him’ base which is a 1 coat black creme, Baroness X Bind & Burnish Base Coat and Dirty Delete Liquid Latex Nail Tape.
Basically – I start the mani with a good base coat for nail protection. Since the powders are rubbed on, I didn’t use a latex peel off like I usually do. I can be heavy handed and one small mistake of applying pressure risks having to start over. Then I applied 1 coat of Girly Bits black creme and let dry. Again – these will be “burnished” or rubbed on – so if you get impatient and go to town on them – you risk needing to start over if your layers aren’t done. That’s why I opt for 1 coat cremes as a base color, less dry time.
Once dry – apply 1 coat of Baroness X Bind & Burnish and let dry. I usually wait about 2 minutes and that does the trick for me – but everyone is different – you can lightly touch the top to see if it’s still wet or tacky. You want a tiny bit of tackiness for application, but not so much that it’s gonna cause the nail to slip n slide.
I generally do this coat of Bind & Burnish and then apply Dirty Delete around the nail for powder protection on the skin… by the time the Dirty Delete is dry – it’s also time to burnish. For those impatient – that’s a good way to know when you’re ready to go.
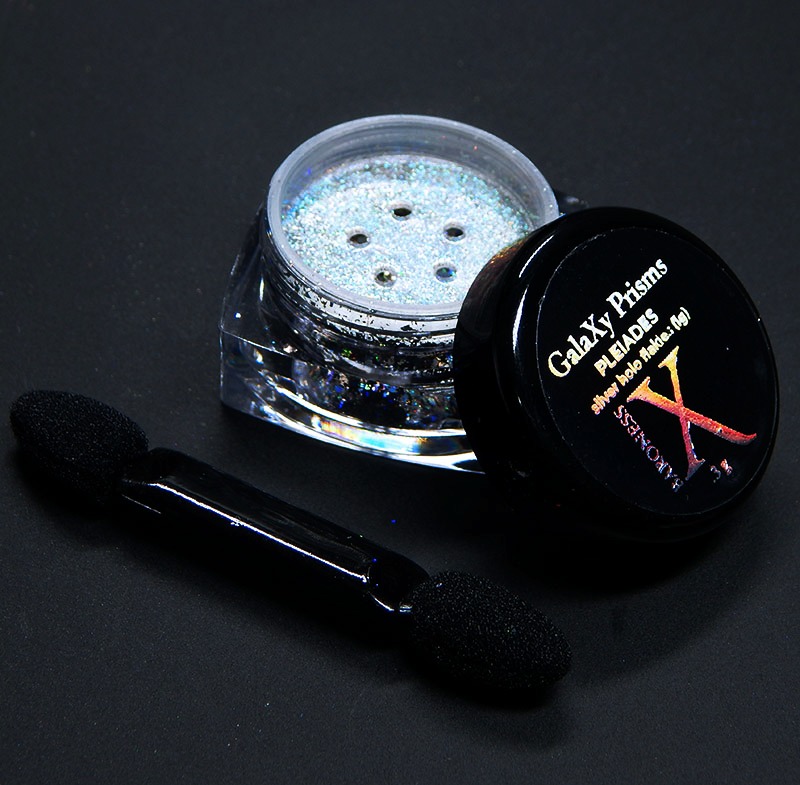
The next part can be done a few ways. Baroness X provides a dual sided eyeshadow applicator to dip into the powder/glitter/flakes and then you lightly rub the product onto the nail. I did use this technique for these photos. However – you can also use a nail stamper. I find the nail stamper to be the easiest for me. Use a stamper and rub the powder/flakes/glitters onto the stamper head, then “stamp” it on the nail.
If you use the stamping technique – don’t use your good clear stamper. It will cloud up the stamping head over time, so I use an older stamper that is already “cloudy” and I don’t care if I can see through it or not.
You can also stamp with the powders – but I’ll go over that when I get to those reviews.
Okay – we ready to see the Galaxy Prism in Pleiades?
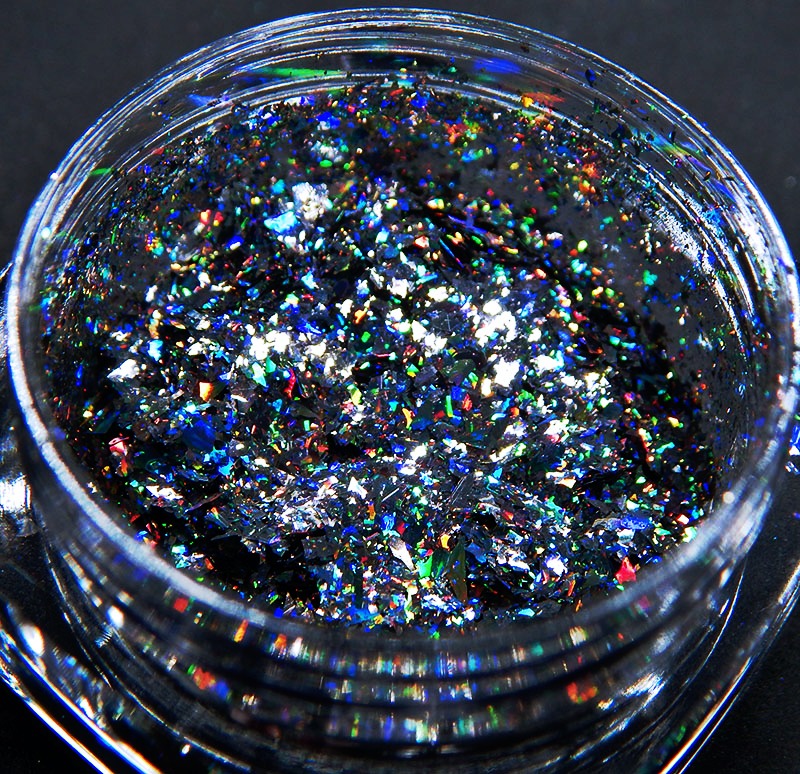
There’s a closeup. These do come in small sifter jars – I prefer to take the sifter off for the flakes, but I leave them on for powders. It’s a preference thing.
So these are tiny silver holo flakes. They are thin so they will not add a ton of texture to your nail unless you REALLY build them up. As I mentioned, I did a 1 coat black creme – but any base color will do. I have a thing about consistency in reviews so I try to stick to a single base color and do the same across the board.
So I “burnished” the flakes in completely on the index and pinky nail, but on the middle and ring I dabbed the applicator only on half the nail. You can do gradients or designs with them. I’m not coordinated enough to do designs though.
When done – simply top with top coat and you’re ready!
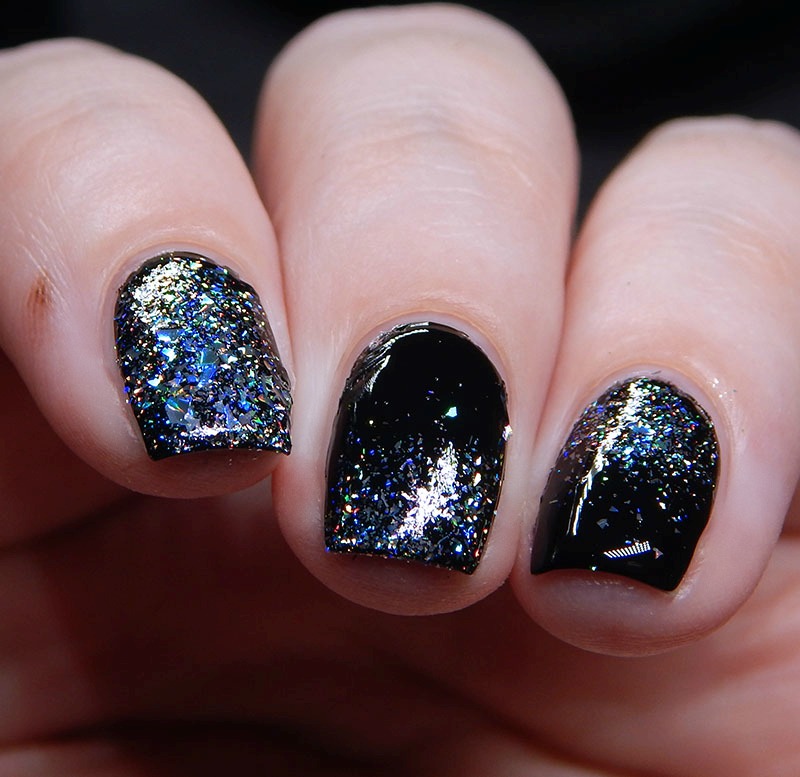
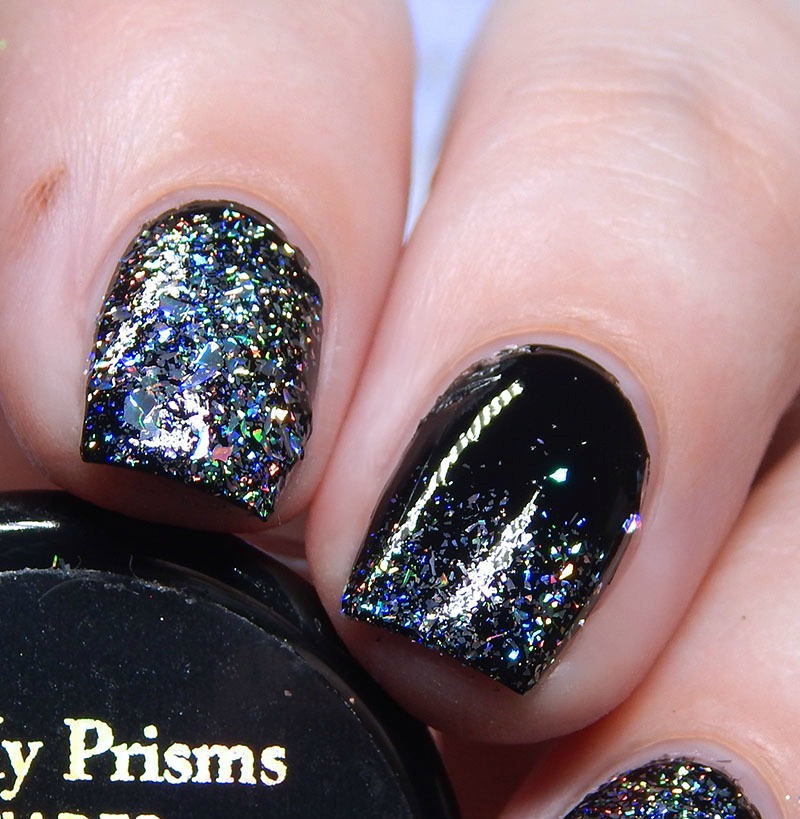
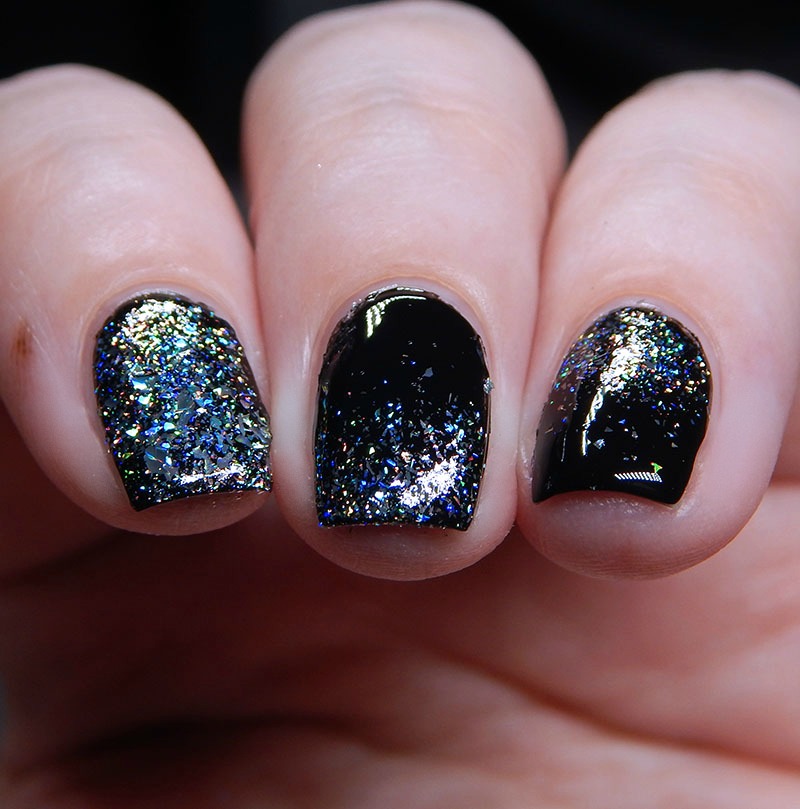
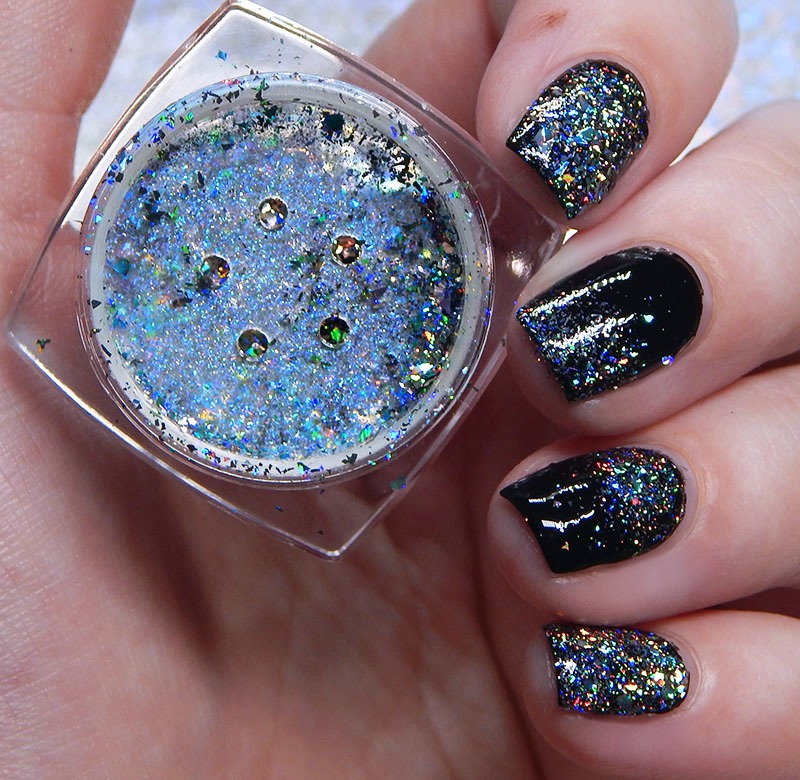
These flakes are insanely sparkly and my camera was like “What the hell do you want me to focus on?” so it took a lot of shots for these. They are very fun to use and very glitzy.
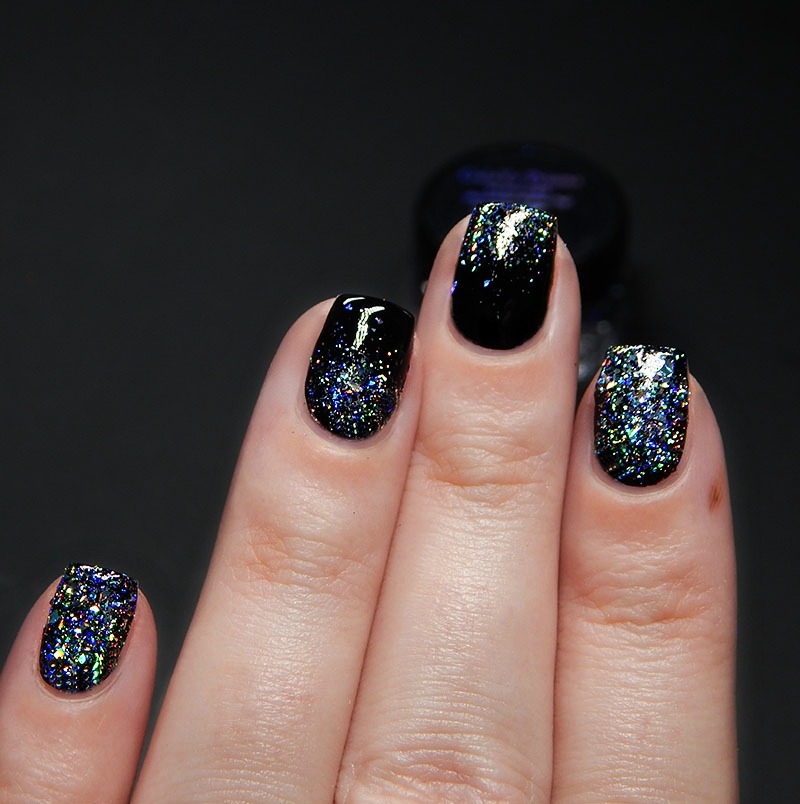
The side of my index finger looks a bit lumpy – that’s user error and not the product. touched the Dirty Delete to the polish and didn’t notice – so when I removed the latex it lifted that part.
They are smooth to the touch the way I did it – but the light just bounces off them and sparkles.
Price: $6.00 for a .3g Jar | $10.00 for a Kit (includes powder/glitter/flakes – your choice + small bottle of Bind & Burnish)
Where To Buy: Baroness X Shop
Baroness X Social Media: Facebook | Instagram
Here are links to other products I used from Baroness X:
Dirty Delete
Bind & Burnish
Liquid Crystal Quick Dry Top Coat
Hope you enjoyed – I’ll be back later today with the GalaXy Glitters!

1 comment
That looks amazing and so sparkly :-D
Comments are closed.